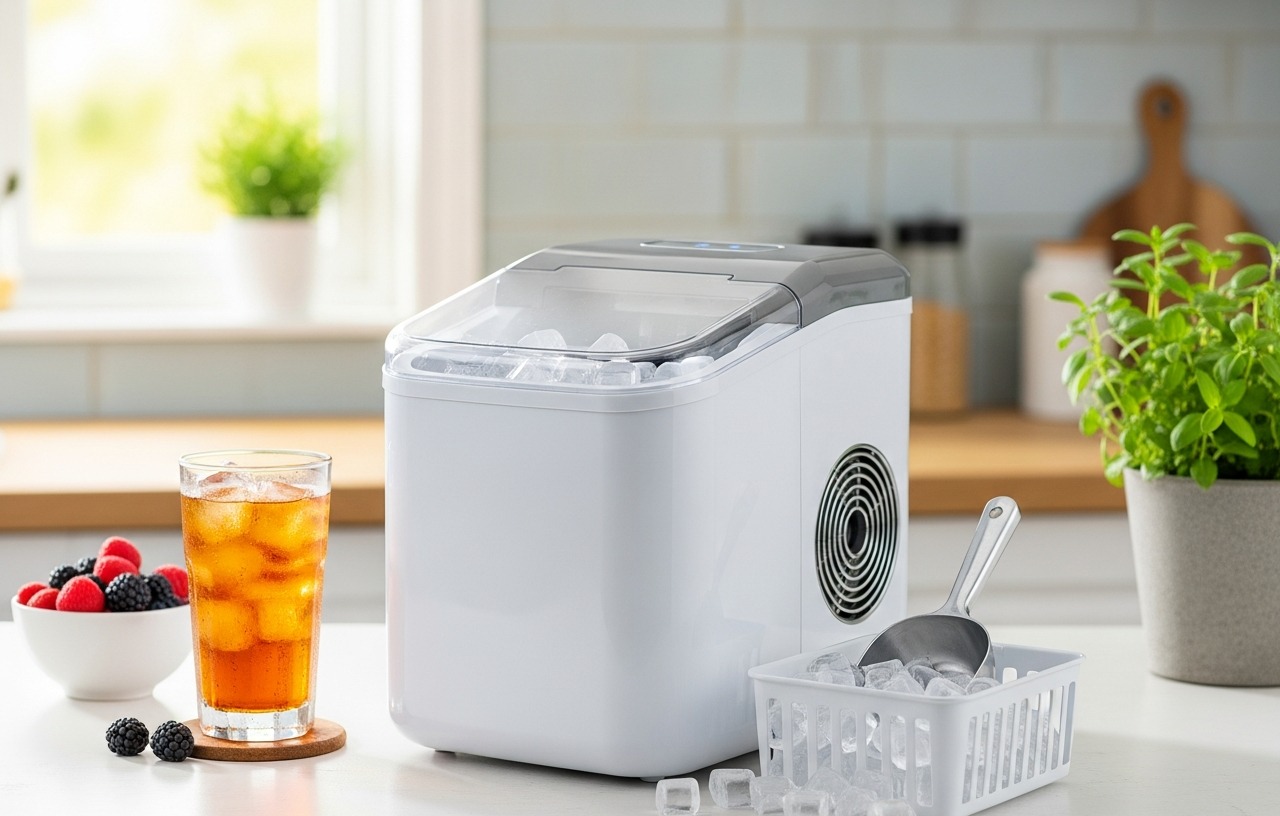
Most countertop ice makers produce a first batch in 6 to 9 minutes and max out at 26 to 36 pounds per day. The resulting ice, however, often appears cloudy. This cloudiness, while harmless, impacts the aesthetic and performance of your drinks. Clear ice melts slower, dilutes beverages less rapidly, and enhances the visual appeal of cocktails and spirits.
Why Regular Ice Cubes Are Cloudy
The cloudiness in typical ice cubes comes from two main sources: dissolved gases and impurities. Tap water contains microscopic air bubbles and minerals. When water freezes in a standard ice tray, it freezes from all sides inward. As the water solidifies, it pushes these trapped air bubbles and impurities towards the center. They become concentrated there, creating the opaque, white appearance.
The Science Behind Clear Ice: Directional Freezing
The secret to making clear ice lies in controlling how water freezes. This method is called directional freezing. Instead of freezing from all directions, you encourage the water to freeze from only one direction. This process allows air bubbles and impurities to be pushed ahead of the freezing front, concentrating them into a smaller, often discarded, section of ice. The result is a large block of crystal clear ice.
Method 1: Directional Freezing with a Small Cooler (Recommended)
This method provides the most consistent and highest quality clear ice at home. It requires a small, inexpensive cooler and a bit of patience. The cooler acts as an insulator on five sides, forcing the water to freeze downwards from the top surface.
Required Tools and Materials:
- Small insulated cooler (5-10 quart capacity works well, often under $30)
- Distilled water (approximately $1-$2 per gallon)
- Sharp serrated knife or ice pick
- Cutting board
- Small mallet or hammer (optional, for breaking ice)
- Clean towel
step by step Guide to Making Clear Ice Cubes:
1. Prepare Your Cooler
Choose a cooler that fits comfortably in your freezer. Make sure it is clean. You do not need to pre-chill the cooler. Place it in your freezer with the lid removed or slightly ajar. This prevents a vacuum from forming and allows proper directional freezing.
2. Fill with Water
Pour distilled water into the cooler, leaving about an inch or two of space from the top. Distilled water is highly recommended because it has had most impurities and dissolved gases removed, leading to significantly clearer results. Using standard tap water will still yield clearer ice than an ice tray, but not as pristine as with distilled water. Resway American Red Cross CPAP Distilled Water Travel Bottles, designed for CPAP humidifiers, offer a convenient, purified option for small batches of clear ice. These individually sealed 16.9 oz bottles are compact.

- ✅ DESIGNED FOR CPAP HUMIDIFIER USE to Resway CPAP distilled water is specially packaged for CPAP humidifier.
- ✅ COMPATIBLE WITH MAJOR CPAP SYSTEMS to Suitable for use with many CPAP, APAP, and BiPAP humidification.
- ✅ TRAVEL SIZE DISTILLED WATER BOTTLES to Individually sealed 16.9 oz bottles are compact and easy to carry.
- ✅ MULTI-USE PURIFIED DISTILLED WATER to Suitable for humidifier systems, household use, emergency.
3. Freeze Partially (18-24 Hours)
This is the most time-sensitive step. Place the open cooler with water into your freezer. Allow it to freeze for approximately 18 to 24 hours. The exact time depends on your freezer's temperature and the size of your cooler. You are aiming for the majority of the water to freeze, leaving a small, unfrozen section at the very bottom or a cloudy section at one end. This cloudy part contains all the trapped air and impurities.
4. Remove and Rest (15-30 Minutes)
Carefully remove the cooler from the freezer. The large block of ice will likely be stuck to the cooler. Let it sit at room temperature for 15 to 30 minutes. This allows the ice to slightly warm and release from the cooler's sides. You might hear a pop as it separates. If it remains stuck, briefly pour a small amount of warm water around the outside of the cooler. Once loose, invert the cooler over a clean towel or cutting board to release the ice block.
5. Break and Cut Your Clear Ice
You will now have a large block of ice, with a clear section and a cloudy, often bubbly, section. Use a sharp serrated knife or an ice pick to carefully separate the clear ice from the cloudy part. For safety, always cut on a stable surface. You can score lines on the ice block with the knife, then apply pressure or tap with a mallet to break it. Cut the clear ice into desired shapes and sizes, such as large cubes or spears for highball glasses. Be cautious, as ice can be slippery and sharp.
6. Store Your Clear Ice
Once cut, store the clear ice pieces in an airtight freezer bag or container. This prevents them from absorbing freezer odors or forming frost on their surface, which can reduce their clarity. They will last indefinitely in the freezer.
Method 2: Using Clear Ice Molds
For those who prefer a more contained and less labor-intensive approach, specialized clear ice molds use the same directional freezing principle on a smaller scale. These molds typically consist of an insulated outer container and an inner mold for the ice cubes or spheres. The insulation forces the water to freeze from the top down, pushing impurities into a reservoir below the actual ice-forming chambers.
True Cubes Crystal Clear Ice Cube Maker
The True Cubes Crystal Clear Ice Cube Maker is a popular option designed to produce four large 2"x2"x2" clear ice cubes. It was named the Best Clear Ice Mold by America’s Test Kitchen. This silicone mold works by mimicking the natural freezing process, allowing air and impurities to be funneled away from the cubes. It is an easy to use tool for making bar-quality drinks at home. Expect to pay around $40-$50 for this mold.

- Winner of Best Clear Ice Mold as named by America’s Test Kitchen - The True Cubes clear ice cube mold.
- Ice So Clear It Disappears - By mimicking the freezing process found in nature, True Cubes makes it as.
- The Official Bartenders’ Choice - Make amazing, bar-quality drinks at home with our easy to use clear ice.
- BPA Free Design - The True Cubes clear ice mold is made from BPA-free silicone. Our clear ice cube tray is.
Berlinzo Premium Clear Ice Ball Maker Mold
If you prefer spherical ice, the Berlinzo Premium Clear Ice Ball Maker Mold creates eight large 2.4-inch crystal clear ice balls. This mold also uses advanced technology for directional freezing, ensuring unmatched purity. Crafted from BPA-free, food-grade silicone, the molds are designed for effortless use, with a flexible construction for easy ice removal. These large ice balls transform the drinking experience for whiskey, cocktails, and bourbon. This product typically costs between $50-$60.

- Experience unmatched purity with the Berlinzo crystal clear ice ball maker. Our advanced technology.
- 2.4 INCH EXTRA LARGE ROUND ICE BALLS: Transform your drink experience with our large ice ball maker.
- Crafted from BPA-free, food-grade silicone, our molds are designed for effortless use. The flexible.
- Enjoy your beverages longer with our cocktail ice ball maker. The Berlinzo large ice spheres melt much.
How to Use Clear Ice Molds:
- Assemble the Mold: Follow the manufacturer's instructions to assemble the inner ice tray within the insulated outer container.
- Fill with Water: Pour distilled water into the mold, making sure not to overfill.
- Freeze: Place the assembled mold in your freezer. Freezing times vary by product, but usually range from 18 to 36 hours.
- Remove Ice: Once frozen, remove the mold from the freezer. Allow it to sit for a few minutes to temper. Separate the clear ice from the cloudy reservoir and release the cubes or spheres.
Method 3: Boiled Water (Less Effective for Clear Ice Cubes)
Some methods suggest boiling water to remove dissolved gases before freezing. While boiling water can reduce some of the air content, it does not address mineral impurities, and it still freezes from all directions in a standard ice tray. This means it is unlikely to produce truly crystal clear ice. It may result in slightly clearer ice than unboiled tap water, but not the perfectly transparent cubes achieved with directional freezing.
Steps for the Boiled Water Method:
- Boil Water: Bring a pot of water to a rolling boil for several minutes.
- Cool: Let the water cool completely to room temperature.
- Boil Again (Optional): For potentially better results, boil the water a second time and let it cool again.
- Pour and Freeze: Carefully pour the cooled, boiled water into standard ice cube trays. Place in the freezer until solid.
Tips for the Best Clear Ice Results
- Use Distilled Water: This is the single most effective way to make sure your clear ice is as pure as possible. It eliminates minerals and most dissolved gases from the start.
- Control Freezer Temperature: A consistent freezer temperature, ideally around 0°F (-18°C), helps with slow, even freezing. Avoid frequently opening the freezer door during the freezing process.
- Don't Rush It: Patience is essential for clear ice. Freezing too quickly will trap air and impurities, leading to cloudiness.
- Experiment: Freezer temperatures vary. Adjust freezing times slightly based on your specific freezer and chosen method.
Troubleshooting Common Clear Ice Issues
Ice Still Looks Cloudy
If your ice still appears cloudy after using the directional freezing method, it is often due to the water freezing too quickly or not enough water volume. Try increasing the freezing time to allow more impurities to be pushed away. Make sure your cooler is properly insulated, or try a smaller volume of water if the cloudy section is still significant.
Ice Breaks Unevenly
Breaking a large block of ice can be challenging. Scoring deeper lines with your knife before hitting it can help. Also, letting the block temper for a longer period (30-45 minutes) can make it less brittle and easier to cut. Always use a stable cutting surface and appropriate tools.
Making clear ice at home requires a bit more effort than simply filling an ice tray. The reward is a superior ice product that elevates any drink. Whether you choose the DIY cooler method or a specialized mold, the principles of directional freezing will help you achieve impressive results.
If you are exploring other options for ice production, learn more about different models. Portable Ice Maker Buying Guide: What to Look For