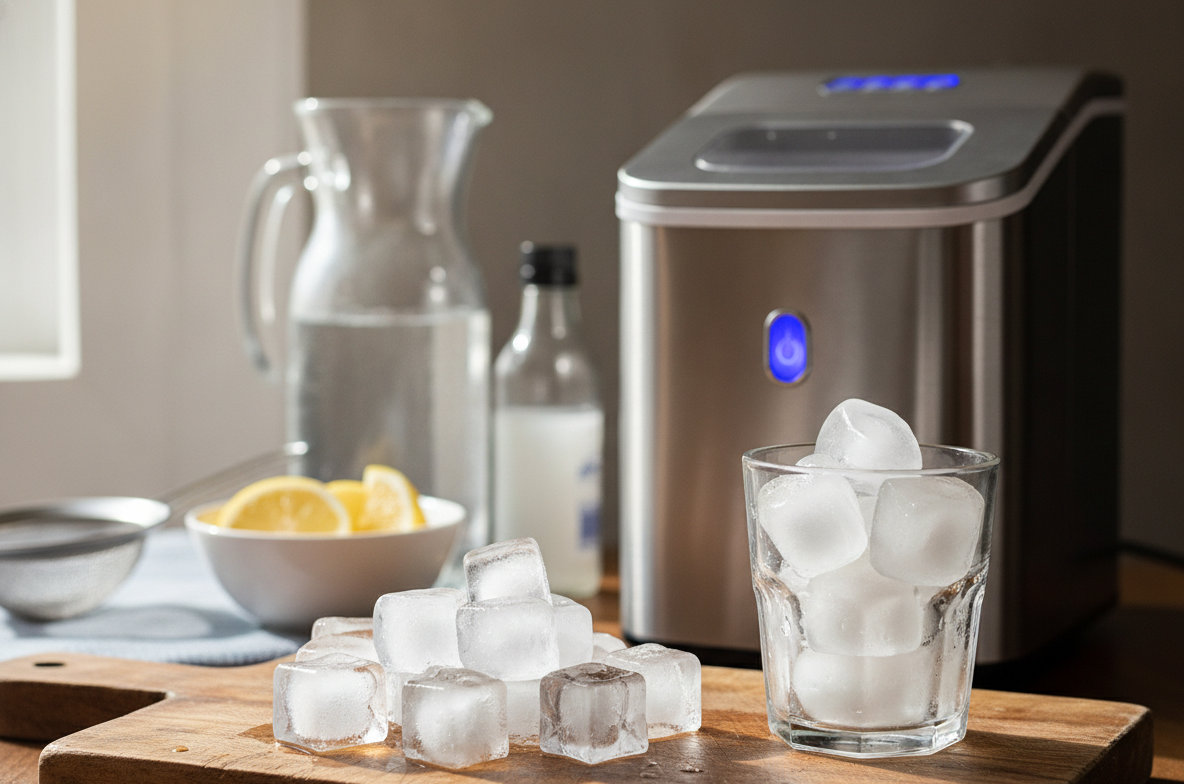
Portable ice makers produce ice rapidly, but sometimes the cubes appear cloudy or opaque. This isn't just an aesthetic issue. Cloudy ice indicates the presence of impurities, dissolved minerals, and trapped air within the water used. Most portable ice makers freeze water from the outside in, pushing these elements to the center of the cube where they become visible.
Understanding the cause of cloudy ice points directly to the solution. The problem typically lies with your water source, not a malfunction of the machine itself. While regular cleaning is vital for any ice maker's performance and hygiene, it often won't resolve cloudiness if the water quality remains unchanged. You can take specific steps to make clearer ice.
Why Your Portable Ice Maker Makes Cloudy Ice
Water contains varying levels of dissolved solids, such as calcium, magnesium, and other minerals, along with microscopic air bubbles. When water freezes quickly, as it does in most countertop ice makers, these impurities and air bubbles get trapped within the ice structure. This creates the opaque, milky appearance.
Traditional freezers or commercial ice makers often freeze water slowly or use circulating water, allowing impurities to be pushed out or settle before the final freeze. Portable ice makers lack this sophisticated process, leading to the rapid trapping of these elements. The result is consistently cloudy ice, even in a brand new machine.
Step 1: Thoroughly Clean Your Ice Maker
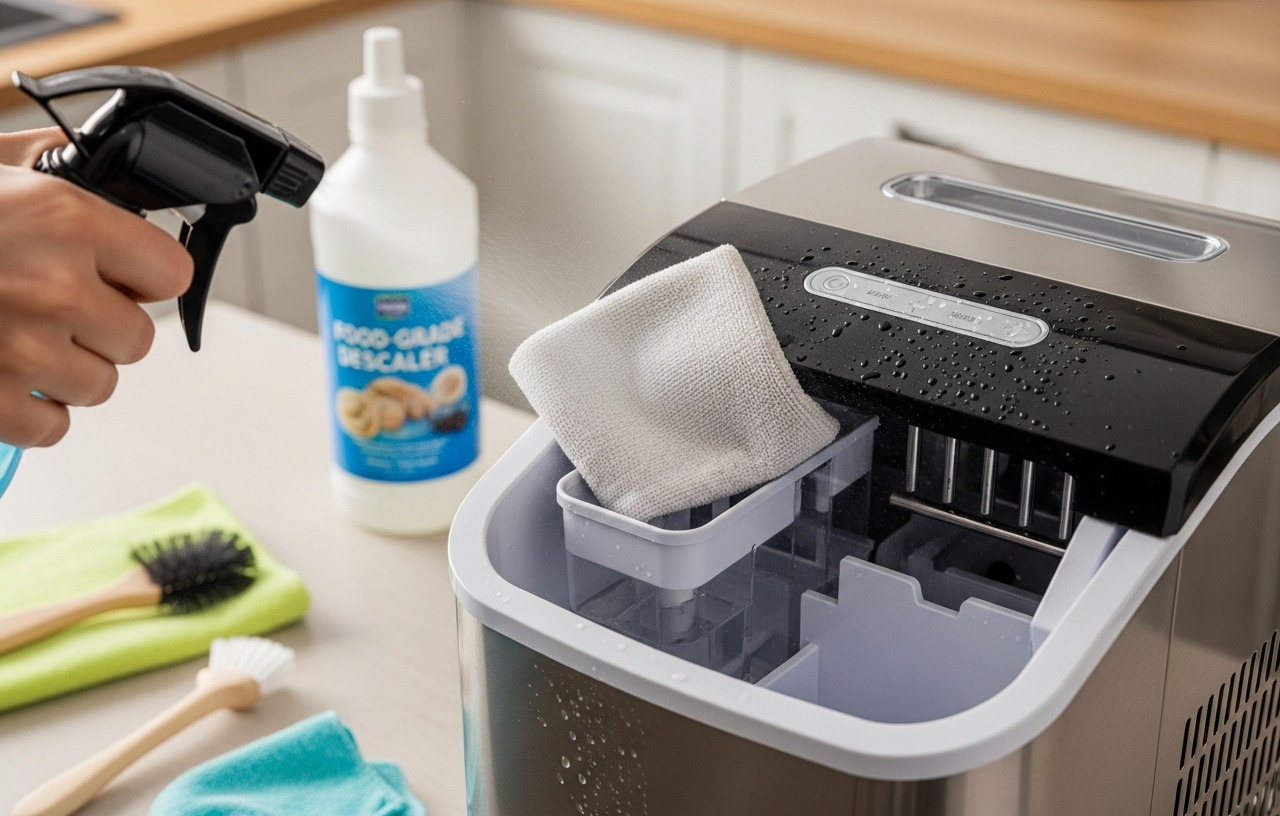
Before addressing water quality, make sure your ice maker is clean. Mineral buildup, mold, or mildew can contribute to off-tasting or even cloudy ice. A dirty machine can also slow down ice production. This step takes about 30-60 minutes, including soaking time.
- Unplug and Empty: Disconnect the ice maker from power. Drain all water from the reservoir and remove any remaining ice from the basket.
- Disassemble Removable Parts: Take out the ice basket, scoop, and any other removable components. Wash these parts with warm, soapy water. Rinse them completely.
- Clean the Interior: Create a cleaning solution. Mix equal parts white vinegar and water, or follow your manufacturer's recommended descaling solution. Pour this into the water reservoir.
- Run a Cleaning Cycle: Plug the machine back in. Turn it on and let it run a few ice-making cycles without making ice. The cleaning solution will circulate through the internal components. Discard any ice produced during this process.
- Drain and Rinse: Unplug the machine again. Drain the cleaning solution completely. Fill the reservoir with fresh, clean water and run another two or three cycles to rinse out any residual cleaning solution. Discard this water and ice.
- Wipe Down: With a clean cloth, wipe down the interior and exterior of the machine. Make sure all surfaces are dry before storing or refilling.
A clean machine operates more efficiently. If you want a more detailed guide, you can find a complete cleaning process here.
Step 2: Use Filtered Water to Reduce Impurities
The most impactful change you can make for clearer ice is to improve your water source. Tap water, even if it tastes fine, often contains enough dissolved minerals to cause cloudy ice. Using filtered water significantly reduces these impurities. This is a continuous effort, requiring you to refill your filter pitcher or dispenser as needed.
Brita Large 10 Cup Water Filter Pitcher
For individuals or small families, a compact water filter pitcher is a practical choice. The Brita Large 10 Cup Water Filter Pitcher, Bright White, is a popular option. It holds 10 cups, enough for several refills of your ice maker's reservoir. The BPA-free design and standard filter work to reduce chlorine taste and odor, along with copper, mercury, and cadmium. This pitcher fits well on refrigerator shelves, making it convenient for daily use. Based on product specs, it helps you save money by replacing up to 1,800 single-use plastic bottles annually. Expect to pay around $25-$35 for this model.
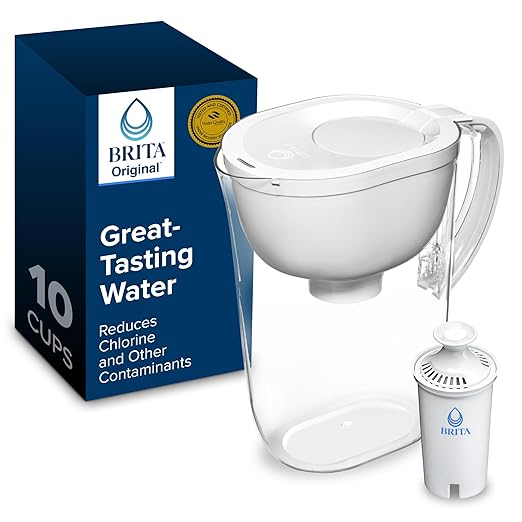
- The BPA-free Everyday water pitcher with filter holds 10 cups of water, enough to fill 3 24-ounce reusable.
- Get great-tasting water without the waste; by switching to Brita, you can save money and replace 1,800.
- This space efficient Brita pitcher fits perfectly on refrigerator shelves, features an easy-fill locking.
- Brita is the #1 water filter** reducing chlorine (taste & odor), Mercury, Copper, Zinc and Cadmium; always.
Brita X-Large 27 Cup Water Dispenser
If you have a larger household or use your portable ice maker frequently, an X-Large water dispenser might be more suitable. The Brita X-Large 27 Cup Water Dispenser, Black, provides a substantial supply of filtered water. Its 27-cup capacity means fewer refills, which is ideal for busy homes or if you're making ice for a party. This BPA-free dispenser uses a standard filter to reduce chlorine, copper, and mercury. It's designed to fit on a refrigerator shelf or counter. Based on manufacturer data, it offers the same environmental and cost-saving benefits as smaller Brita models. This larger unit typically costs between $40-$55.

- One BPA-free, large 27-cup Brita UltraMax Filtered Water Dispenser includes one Standard filter to help.
- Brita water purifier dispenser cuts the taste and odor of chlorine and also reduces copper, mercury and.
- By switching to a Brita water filter system, you can save money and replace up to 1,800 single-use plastic.
- Space-efficient Brita water dispenser is fridge-friendly, and it features an easy-locking lid and.
Brita Large 10 Cup Water Pitcher Dispenser with Elite Filter
For those seeking enhanced filtration, consider a Brita pitcher with an Elite filter. The Brita Large 10 Cup Water Pitcher Dispenser, Blue, with an Elite Filter, offers superior contaminant reduction. The Elite filter lasts three times longer than standard filters and reduces lead, phthalates, and benzene, in addition to chlorine and other common impurities. This pitcher maintains the convenient 10-cup capacity and fridge-friendly design. It's an excellent choice if your tap water quality is a concern beyond basic taste and odor. This model generally retails for $30-$45.
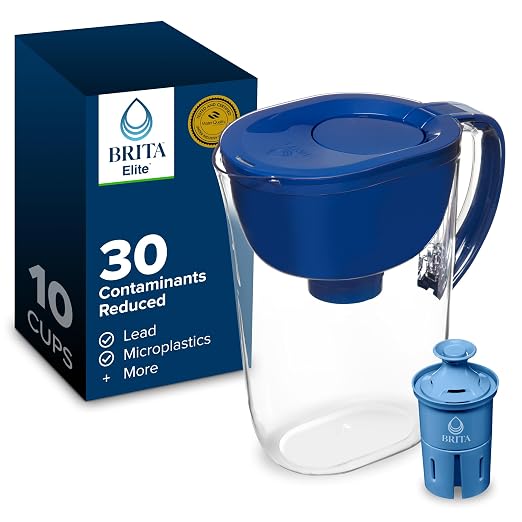
- This Everyday water pitcher is made without BPA, easy to fill, fits in most fridges and can hold 10 cups.
- This space efficient Brita pitcher is fridge friendly, features an easy-fill lid to make refills a breeze.
- Get great tasting water without the waste^; by switching to Brita Elite, you can save money and replace.
- Reduce 99% lead, Chlorine (taste and odor), Cadmium, Mercury, Benzene, Asbestos, and more*, while an.
Step 3: Boil Your Water (Optional, for Best Clarity)
Even filtered water can produce slightly cloudy ice due to trapped air. To remove most of the dissolved air, boil your water before filtering and freezing. This process requires extra time but yields the clearest ice.
- Boil the Water: Pour your filtered water into a clean pot. Bring it to a rolling boil for 5 minutes. This drives out dissolved gases.
- Cool Completely: Remove the pot from the heat. Let the water cool to room temperature, uncovered. This can take 1-2 hours.
- Boil a Second Time (Optional): For truly pristine ice, repeat the boiling and cooling process. This removes even more impurities and air.
This method significantly reduces cloudiness, making ice that approaches the clarity of commercial varieties. It's a time-intensive process, but the results are noticeable.
Step 4: Let Water Cool Completely Before Adding to Ice Maker
After boiling (if you chose that step), ensure the water is completely cool before adding it to your ice maker's reservoir. Adding warm or hot water can stress the machine's cooling components and potentially damage it over time. It also increases the initial cooling time, which can impact the first batch of ice.
Room temperature or chilled filtered water is ideal. This minimizes the work the ice maker needs to do and helps it start producing ice efficiently from the first cycle.
Step 5: Fill the Reservoir with Prepared Water
Once your water is filtered and, if desired, boiled and cooled, carefully pour it into your portable ice maker's water reservoir. Do not overfill the reservoir. Check your ice maker's manual for the maximum fill line. Overfilling can lead to leaks or operational issues.
Using a clean pitcher or the Brita dispenser directly will help avoid spills and keep your water source sanitary. This simple step ensures that the water you've prepared is the only water the machine uses.
Step 6: Run Cycles and Discard First Batches
After making changes to your water source or cleaning the machine, the first few batches of ice might still be cloudy or contain residual flavors. This is normal. The internal system needs to cycle through the new water. Allow the ice maker to run for 2-3 cycles.
Discard these initial batches of ice. Do not consume them. After a few cycles, the ice should start to show improved clarity. This process ensures any remaining impurities from the old water or cleaning solution are flushed out.
Step 7: Regular Maintenance for Continued Clarity
Maintaining clear ice is an ongoing effort. Consistency with your water source is key. Always use filtered or pre-treated water. Develop a routine for cleaning your ice maker. A quick rinse and wipe-down every few days, along with a deeper clean every 2-4 weeks, prevents mineral buildup and keeps your machine running optimally.
Check the water pump and ice tray for any visible mineral deposits. If you notice a slowdown in ice production or persistent cloudiness, it may be time for another thorough cleaning. Regular care extends the lifespan of your appliance and improves ice quality.
Addressing Other Ice Maker Issues
If your portable ice maker is producing cloudy ice and also experiencing other problems, like not making ice at all or flashing a red light, the issue might be more complex than just water quality. These problems could indicate a mechanical fault, a sensor error, or a need for descaling. For troubleshooting common operational problems, refer to guides specific to those issues.
Understanding how portable ice makers work can help diagnose other problems. For example, if your machine isn't making ice at all, it could be a pump issue or a refrigerant leak. These are distinct from cloudy ice, which is primarily a water quality concern.
Making clear ice from your portable ice maker requires attention to your water source and consistent maintenance. By using filtered or boiled water and keeping your machine clean, you can enjoy perfectly clear ice for all your beverages.