The Easiest Way to Defrost Your Mini Fridge (step by step Guide)
Ice accumulation is a common issue with mini refrigerators. Over time, frost can build up on the interior walls and especially in the freezer compartment, reducing the appliance's efficiency and taking up valuable storage space. Understanding how to defrost a mini fridge is essential for maintaining its performance and longevity. This guide breaks down the process into simple, actionable steps.
Why Defrost Your Mini Fridge?
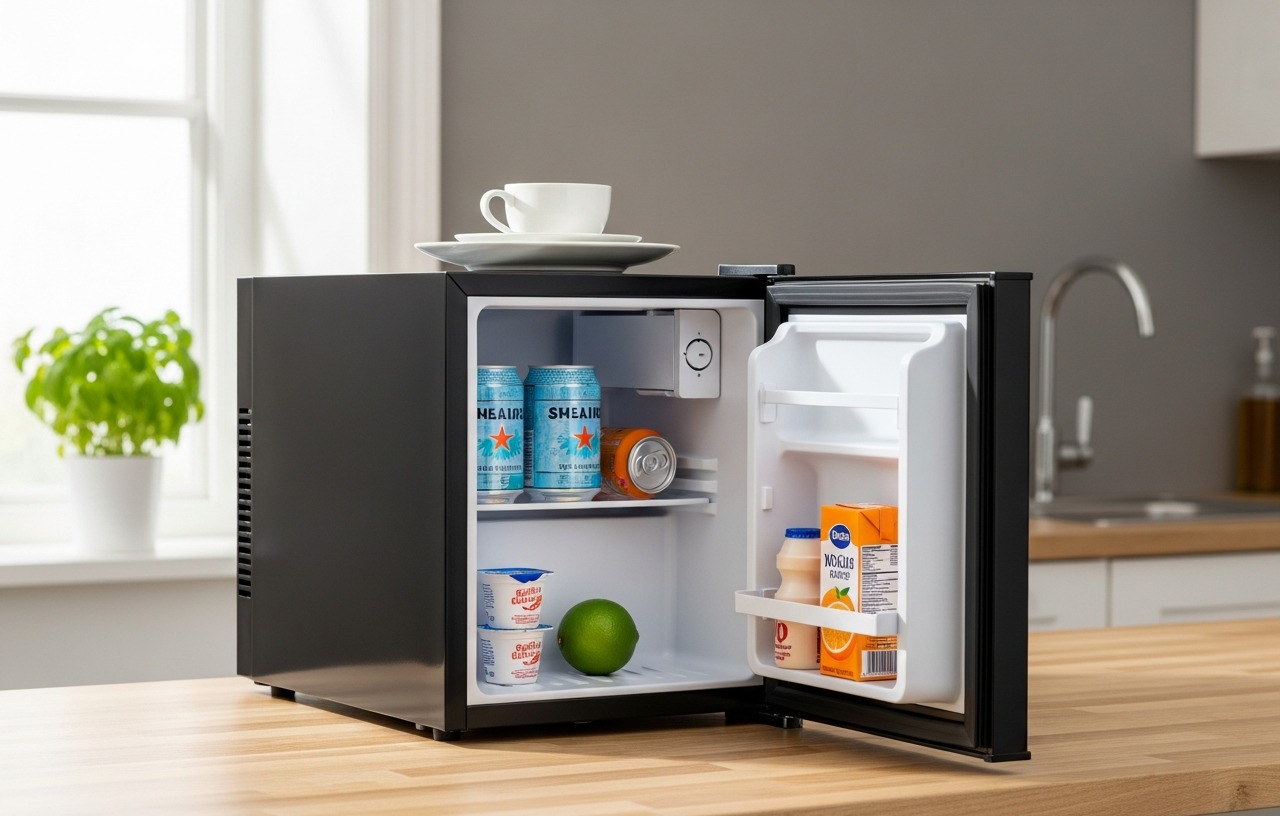
A mini refrigerator, often used in dorm rooms, offices, RVs, or as secondary storage, functions much like its larger counterparts. The cooling mechanism relies on circulating cold air. When ice crystals form on the evaporator coils, they create an insulating layer. This layer forces the compressor to work harder to achieve the desired temperature, consuming more energy and potentially leading to premature wear. Regular defrosting, typically when ice reaches about 1/4 inch thick, is key to efficient operation.
What You'll Need
Gathering the right materials before you begin makes the defrosting process smoother and cleaner. You will need:
- Towels (several old ones are best for absorbing water)
- Shallow pans or trays (to catch drips and larger pools of water)
- A spatula or plastic scraper (for gently loosening stubborn ice, if necessary)
- A fan (optional, to speed up melting)
- Cleaning cloths or sponges
- A mild detergent or a mixture of baking soda and water for cleaning
- A dry towel for wiping down the interior
step by step Guide: How to Defrost a Mini Fridge
Defrosting a mini refrigerator doesn't require specialized tools or technical knowledge. Follow these steps for a successful defrosting experience.
Step 1: Unplug and Empty the Refrigerator
This is the most critical safety step. Never attempt to defrost a mini fridge while it is plugged in. Unplug the power cord from the wall outlet. Then, remove all food items, beverages, and any shelves or drawers. Store perishable items in a cooler with ice packs or in another refrigerator if available. This step prevents food spoilage and ensures your safety.
Step 2: Prepare for Melting Ice
Place old towels around the base of the mini fridge on the floor. Position shallow pans or trays underneath any areas where ice is likely to drip heavily, particularly near the door seals or any visible ice formations. This containment system will help manage the water and prevent a mess. If your mini fridge has a drain plug, consult your manual on how to remove it and place a pan beneath it.
Step 3: Allow the Ice to Melt
This is the most time consuming part of how to defrost a mini refrigerator. The easiest method is to simply let the ice melt naturally. Keep the refrigerator door open to allow warm air to circulate. This process can take anywhere from 2 to 4 hours, or longer if the ice buildup is very thick.
To expedite the melting process, you can use a fan. Place a fan in front of the open mini fridge, directing airflow inside. This will significantly speed up the melting time, potentially reducing it by an hour or more. Avoid using heat sources like hairdryers, heat guns, or boiling water directly on the ice. Applying direct heat can damage the plastic interior, seals, or cooling components. While some suggest using a bowl of hot water placed inside, this method should be done with caution to prevent excessive steam from affecting electronics or plastic.
Step 4: Gently Remove Ice (If Necessary)
As the ice melts, some larger chunks may become loose. You can gently nudge these pieces with a plastic spatula or scraper. Never use sharp metal objects like knives or screwdrivers, as these can easily puncture the interior walls or damage the cooling elements, leading to costly repairs. If a piece of ice is stubbornly attached, let it melt further rather than forcing it.
Step 5: Clean the Interior
Once all the ice has melted and you have carefully mopped up the standing water with towels, it's time to clean the interior. Use a mild detergent mixed with water, or a solution of baking soda and water (about 1 tablespoon of baking soda per quart of water). This helps to neutralize odors and disinfect the surfaces. Wipe down all interior surfaces, including shelves and drawers. Rinse the interior with a clean, damp cloth to remove any soap residue. For stubborn odors, you can leave an open box of baking soda inside the clean, dry fridge.
For appliances with stainless steel exteriors, consider using a specialized cleaner. Magic Stainless Steel Cleaner Aerosol is designed to remove fingerprints, residue, and water marks, leaving a protective coating that repels dirt. Regular cleaning with such products helps maintain the appliance's appearance.

- Effective Cleaning Solution: Our Multi-Purpose Disinfectant Spray is EPA registered* and has a category IV.
- Pure and Simple: Our natural formula is made with just salt, water, and electricity, with no.
- Ideal For: Our cleaner is tough enough to tackle the dirtiest bathrooms, kitchens, and gyms, yet gentle.
- Unique Feature: Hypochlorous acid is a part of the chlorine family, so there may be a faint scent. The.
Step 6: Dry and Reassemble
Thoroughly dry the entire interior with a clean, dry towel. Any remaining moisture can freeze again and contribute to future ice buildup. Reinsert shelves and drawers after ensuring they are also clean and dry.
Step 7: Plug In and Restock
Once the interior is completely dry, plug the mini fridge back into the power outlet. Allow the refrigerator to reach its optimal cooling temperature before restocking your food items. This usually takes about 1 to 2 hours. Placing warm food into a newly defrosted and still-chilling fridge can raise the internal temperature, affecting other items. Monitor the temperature for the first few hours to ensure it's cooling effectively.
How Long Does It Take to Defrost a Mini Fridge?
The total time required for how long does it take to defrost a mini fridge varies. The melting process itself, allowing ice to melt naturally, typically takes between 2 to 4 hours for moderate ice buildup. Using a fan can reduce this time by 30-50%. The entire process, including emptying, cleaning, drying, and allowing the fridge to cool down again, can take anywhere from 4 to 6 hours. Planning for a weekend morning or a time when you won't need immediate access to refrigerated items is advisable.
Defrosting a Mini Freezer Compartment
Many mini fridges have a small, dedicated freezer compartment. This area is often the first to develop significant frost. The process for how to defrost a freezer in a mini fridge is identical to the steps outlined above. Focus on removing all contents from this compartment and preparing for water drainage. Special defrosting sprays exist, such as 2PCS Freezer Defroster Spray, which can help speed up the melting of ice on the walls. These sprays are formulated to be safe for refrigerator interiors and are odorless, making them a convenient option for tackling stubborn ice.
Maintenance Tips to Reduce Frost Buildup
Preventing excessive frost buildup can make future defrosting less frequent and easier. Consider these tips:
- Check Door Seals: Ensure the door seals are clean and create a tight seal. Damaged or dirty seals allow warm, moist air to enter, accelerating frost formation.
- Avoid Overpacking: Don't pack the fridge so tightly that airflow is obstructed.
- Cover Liquids: Keep liquids and moist foods covered to reduce the amount of moisture released into the air inside the fridge.
- Temperature Settings: Ensure the temperature is set appropriately. Extremely cold settings can contribute to faster ice buildup.
- Regular Cleaning: A quick wipe-down after defrosting and regular cleaning of spills can prevent minor frost from becoming a major issue. Refer to our guide on Mini Fridge Not Cooling? Common Fixes & Repair Costs for further troubleshooting.
Our Top PicksTop Pick
 Magic Stainless Steel Cleaner Aerosol - 17 Ounce - Removes Fingerprints Residue Water Marks and Grease From Appliances -Check Price on AmazonClean Republic Multi-Purpose Disinfectant, Hypochlorous Acid Cleaning Spray, 32 Fluid Ounce BottleCheck Price on Amazon
 2PCS Freezer Defroster Spray,Defrosting Spray For Fridge Freezer,High Effective Refrigerator Defrosting Agent, Easy To Use, FastCheck Price on Amazon