Most portable washing machines weigh between 40 and 60 pounds and use standard household power, making them ideal for apartments, RVs, and small homes. The primary challenge for new owners is often the initial setup, specifically connecting the machine to a water source and drain. This guide explains how to connect a portable washing machine to your sink faucet, detailing each step for a secure and efficient laundry solution.
Understanding Your Portable Washing Machine Connections
Portable washing machines come with specific connections for water intake and drainage. Two hoses typically handle water supply: one for hot water and one for cold. These connect to a faucet adapter, which then attaches to your kitchen or bathroom sink faucet. A separate drain hose expels the dirty water into the sink during the wash cycle. Understanding these components is the first step to a successful setup.
Essential Tools and Materials
Before you begin, gather the following items. Most portable washing machines include the necessary hoses and adapters, but it is wise to check your specific model’s manual. If you need new hoses, consider options designed for durability and burst resistance.
- Adjustable Wrench or Pliers: For tightening hose connections.
- Towel or Rag: To catch any drips during connection.
- Bucket (Optional): For draining any residual water from hoses.
- Faucet Adapter: Usually a quick-connect type. Most portable washers come with one. Make sure it matches your faucet's threading (internal or external).
- Hot and Cold Water Supply Hoses: Typically 6 feet long, with 3/4" threaded connectors.
- Drain Hose: Usually included, with a hook to secure it to the sink.
- Level: To make sure your machine sits evenly.
Recommended Washing Machine Hoses
high quality hoses prevent leaks and offer longevity. Standard rubber hoses cost around $15 to $25 for a pair. Stainless steel braided hoses, which offer superior burst resistance, range from $25 to $40 for a pair. Look for hoses with reinforced construction and tight-fitting connectors.
The K&J Premium 6ft Washing Machine Hoses are a strong option. They feature super-high tensile strength braided stainless steel, making them burst-proof and durable. This design ensures maximum pressure retaining qualities, providing a standard fit for most washer hose connections.
Alternatively, the 2 PACK 6FT Rubber Washing Machine Hoses offer a reliable, wear-resistant solution. Crafted from high quality rubber and reinforced PVC, these hoses boast a pressure rating up to 1500 psi. They come with tight-fitting connectors and a smooth inner surface.
For a slightly shorter option, the 4 Ft Washing Machine Hoses in a 2-pack provide premium stainless steel construction. These burst-proof hoses come color coded (red for hot, blue for cold) and feature a two-ply PVC core with brass nuts for excellent corrosion resistance.
Safety Precautions Before You Start
Working with water and electricity requires caution. Follow these safety steps to prevent accidents and damage:
- Unplug the Machine: Always unplug your portable washing machine from the electrical outlet before making any water connections or adjustments.
- Check for Damage: Inspect all hoses and connections for kinks, cracks, or wear before use. Replace any damaged parts.
- Grounded Outlet: Make sure you plug the machine into a grounded, three-prong electrical outlet. Do not use extension cords if avoidable. If you must use one, use a heavy duty outdoor-rated cord with a ground wire.
- Read the Manual: Consult your washing machine's owner's manual for model-specific instructions and warnings.
- Secure Placement: Position the machine on a flat, stable surface. Subsequent connections for each wash cycle will be much faster, around 2-5 minutes.
Step 1: Position the Washing Machine (Estimated Time: 2-5 minutes)
Place your portable washing machine near the sink you plan to use. Make sure it sits on a level, sturdy surface. The hoses must reach the faucet and drain without being stretched or kinked. Leave enough space behind the machine for hose connections and proper ventilation.
 2 PACK 6FT Rubber Washing Machine Hoses Burst Proof Washer Water Hoses for Hot and Cold Water 3/4" Connection Water Supply Lines
- The washer hoses using wear-resistant and burst-proof materials with a pressure rating up to 1500 psi.
- 6ft rubber washing machine water hoses crafted from high quality rubber and reinforced PVC, this.
- This cold and hot water washing machine hose is equipped with tight-fitting connectors and a smooth inner.
- This 6 foot rubber washing machine hose features color coded identification: blue for cold water and red.
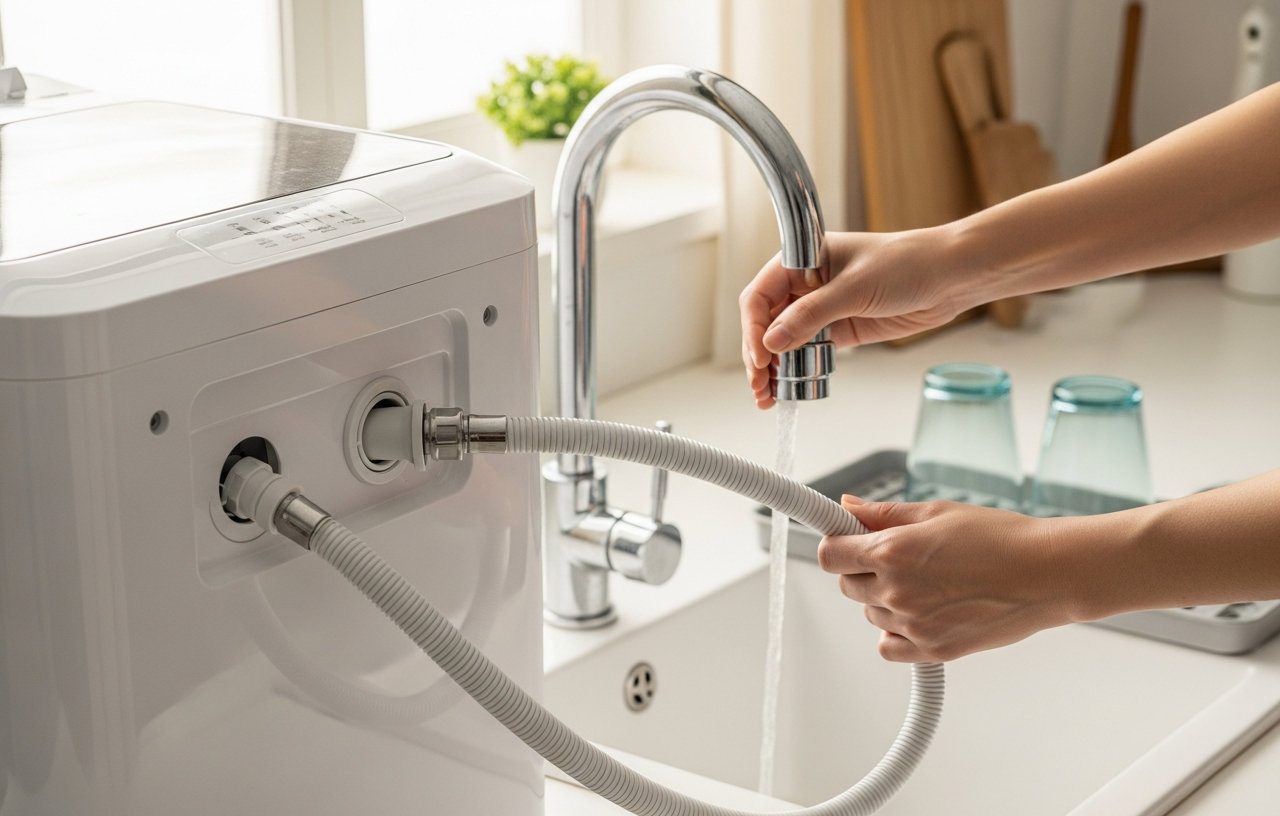
Step 2: Install the Faucet Adapter (Estimated Time: 3-7 minutes)
This is where your portable washing machine connects to the water supply. Most portable washers use a quick-connect faucet adapter. There are two main types of faucet connections:
- For Standard Faucets (Aerator Removal):
Unscrew the aerator from the tip of your sink faucet. This usually twists off counter-clockwise. You might need pliers if it is tight. Your portable washer's faucet adapter will typically have internal or external threads to match the faucet stem. Screw the adapter onto the faucet securely by hand, then tighten gently with an adjustable wrench, being careful not to overtighten and strip the threads. Some adapters come with rubber washers; make sure these are in place to prevent leaks.
- For Pull-Down or Sprayer Faucets:
Connecting a portable washing machine to a pull-down or sprayer faucet can be more challenging. Many faucet adapters are not compatible with these types. Some specialized adapters exist, but they are less common. In some cases, you may need to replace the entire faucet head with one that accepts a standard aerator or a compatible quick-connect fitting. Check your faucet model's specifications. If an adapter is not readily available, consider using a different sink if possible.
Once the adapter is installed, turn on the water briefly to check for leaks around the adapter connection. Tighten further if needed.
Step 3: Connect Water Supply Hoses to the Machine (Estimated Time: 3-5 minutes)
Locate the hot and cold water intake valves on the back of your washing machine. They are usually labeled H (Hot) and C (Cold) or marked with red and blue colors. Take your two water supply hoses. Screw the red-striped or red-labeled hose to the hot water intake on the machine. Screw the blue-striped or blue-labeled hose to the cold water intake. Hand-tighten these connections, then give them a quarter-turn with an adjustable wrench for a snug fit. Do not overtighten.
Step 4: Connect Water Supply Hoses to the Faucet Adapter (Estimated Time: 2-4 minutes)
The other ends of the hot and cold water hoses connect to the quick-connect faucet adapter. Most quick-connect systems have a collar or ring that you pull down to attach or detach the hoses. Push the hose connectors firmly onto the adapter until they click into place. Make sure both hot and cold lines are securely seated. You might need to gently pull on them to confirm they are locked.
 4 Ft Washing Machine Hoses, 2 Packs Premium Stainless Steel Washer Hoses Burst Proof, Hot and Cold Striped Water Supply Hoses
- : 1 x Red colored Washing Machine Hoses for hot water, 1 x Blue colored Washing Machine Hoses for cold.
- : Our stainless steel washer hoses with two-ply PVC core and brass nut has excellent corrosion resistance.
- : We are confident in the quality of our products and offer a 30-day money-back guarantee. If you are not.
- : This washer hoses fits all washing machines and very suitable for residential or commercial use.
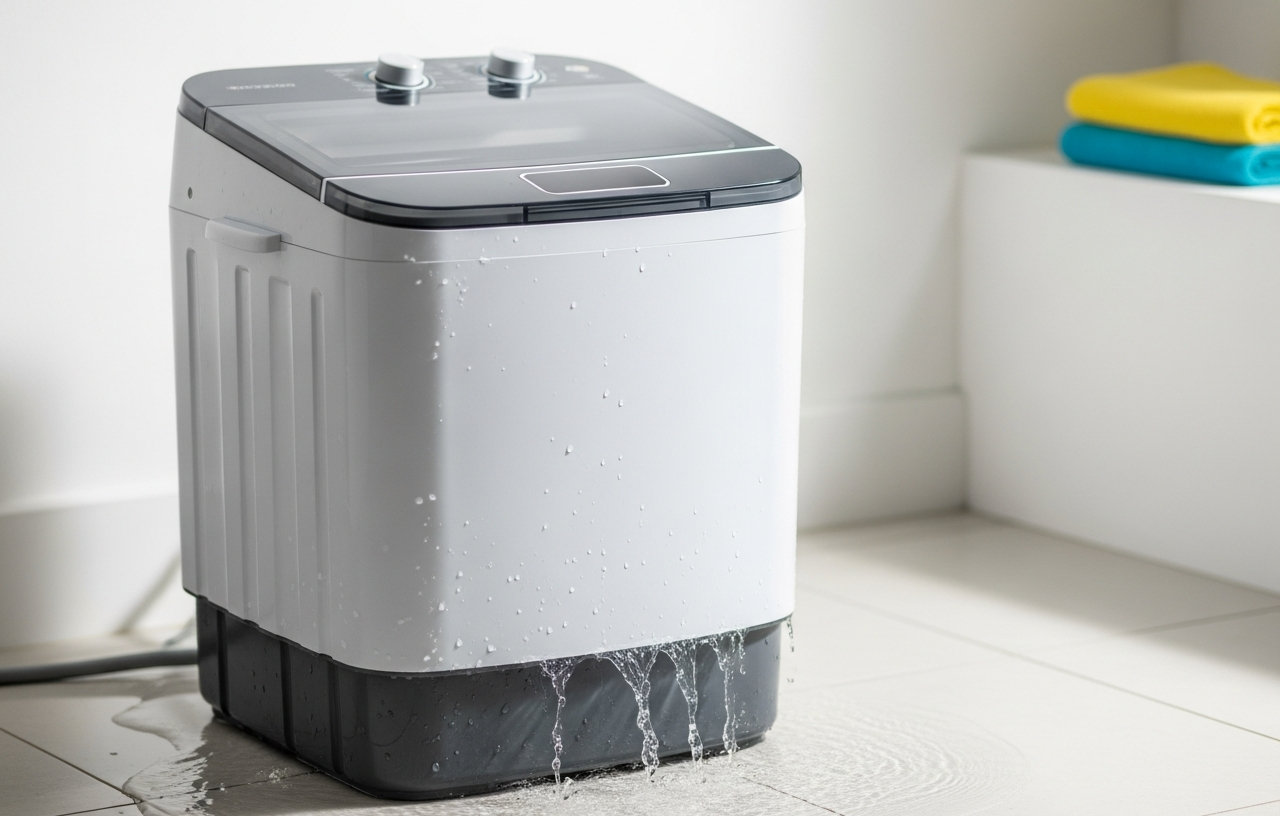
Step 5: Connect the Drain Hose (Estimated Time: 1-3 minutes)
The drain hose is typically a single, larger hose. Attach one end to the drain outlet on the back of your portable washing machine, securing it with a clamp if provided. The other end, often shaped like a shepherd's crook, hooks over the side of your sink. Make sure the hook is firmly seated and cannot easily fall out during the wash cycle. Position it so the water drains directly into the sink basin, not onto the counter. You can also use a small piece of tape to secure it to the faucet or wall if you are worried about it shifting.
Step 6: Plug in the Machine and Test (Estimated Time: 5-10 minutes)
With all hoses connected, plug the washing machine's power cord into a grounded electrical outlet. Turn on both the hot and cold water faucets at your sink fully. Check all hose connections for leaks. Run a short, empty wash cycle (or a rinse cycle) to test the connections and make sure water fills and drains properly. Watch for any unusual noises or excessive vibrations. Adjust the machine's leveling feet if it shakes too much.
If you encounter leaks, turn off the water supply immediately. Re-check and tighten the specific connection. Sometimes, a worn rubber washer needs replacement.
Operating Your Portable Washing Machine
Once connected, operating your portable washing machine is similar to a full-sized unit. Load your laundry, add detergent to the dispenser, select your wash cycle, and start the machine. Remember to turn on the hot and cold water faucets at the sink before starting a cycle and turn them off when the cycle finishes. This prevents constant pressure on your hoses when the machine is not in use.
Disconnecting and Storing Your Portable Washing Machine
Many users disconnect their portable washing machine after each use to free up sink space. This process takes only a few minutes.
- Turn Off Water and Unplug: Turn off both hot and cold water faucets at the sink. Unplug the machine from the electrical outlet.
- Release Water Pressure: Briefly run a drain cycle or open the water supply lines (carefully, over a bucket) to release any remaining pressure.
- Disconnect Hoses from Faucet: Disengage the quick-connect adapter from the faucet. This usually involves pulling down a collar on the adapter.
- Remove Drain Hose: Lift the drain hose from the sink. Allow any residual water to drain into the sink or a bucket.
- Store Hoses: Coil the water supply and drain hoses neatly. Some machines have hooks or compartments for hose storage.
- Move Machine: Gently roll or move the machine to its storage location.
For long term storage, especially in cold climates, drain all water from the machine and hoses to prevent freezing and damage. Consult your machine’s manual for specific winterization instructions.
Troubleshooting Common Connection Issues
Sometimes, problems arise during setup or operation. Here are quick fixes for common issues:
- Leaks at Faucet Connection: Make sure the faucet adapter is screwed on tightly and that its rubber washer is in place and not worn. If your faucet has a non-standard thread, the included adapter might not fit properly. You may need to purchase a universal adapter or one specifically designed for your faucet type.
- Leaks at Hose Connections: Check that the hot and cold supply hoses are securely tightened to both the machine and the quick-connect adapter. Make sure the rubber gaskets inside the hose connectors are present and undamaged.
- Water Not Filling: Make sure both hot and cold water faucets at the sink are fully open. Check for kinks in the supply hoses. Make sure the quick-connect adapter is properly seated.
- Water Not Draining: Make sure the drain hose is not kinked or clogged. The end of the drain hose should be positioned correctly in the sink, not too deep, which can create a siphon issue, or too high, which can prevent proper drainage.
- Machine Vibrates Excessively: This usually means the machine is not level. Adjust the leveling feet at the bottom of the machine until it sits stably on the floor. A rubber mat under the machine can also help absorb vibrations.
The Benefits of a Portable Washing Machine
Portable washing machines offer significant advantages for apartment dwellers, college students, and anyone with limited space. They eliminate trips to laundromats, saving both time and money. Their compact size allows them to fit in small bathrooms or kitchens, and they can be stored away when not in use. Many models are energy and water efficient, making them an economical choice. Having the ability to do laundry at home provides convenience and flexibility that traditional setups do not offer in smaller living situations.
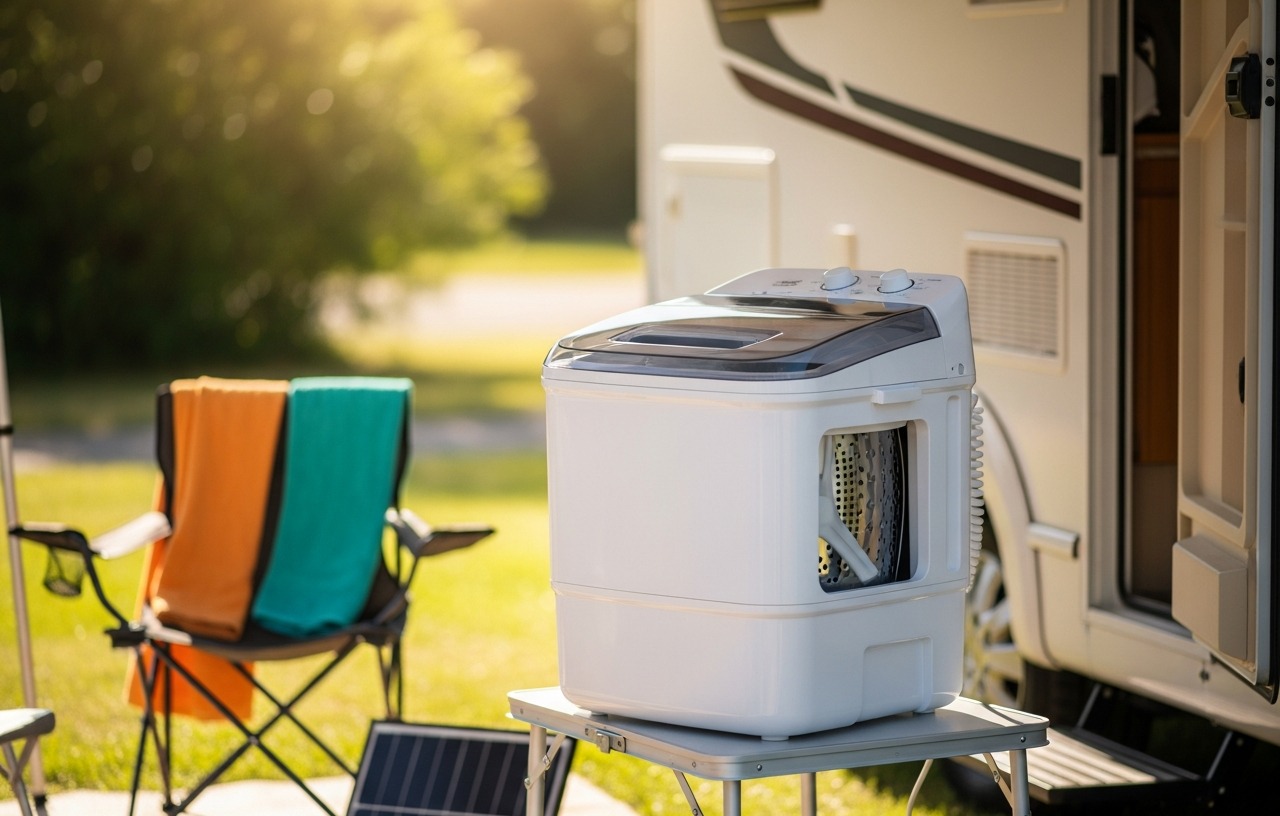
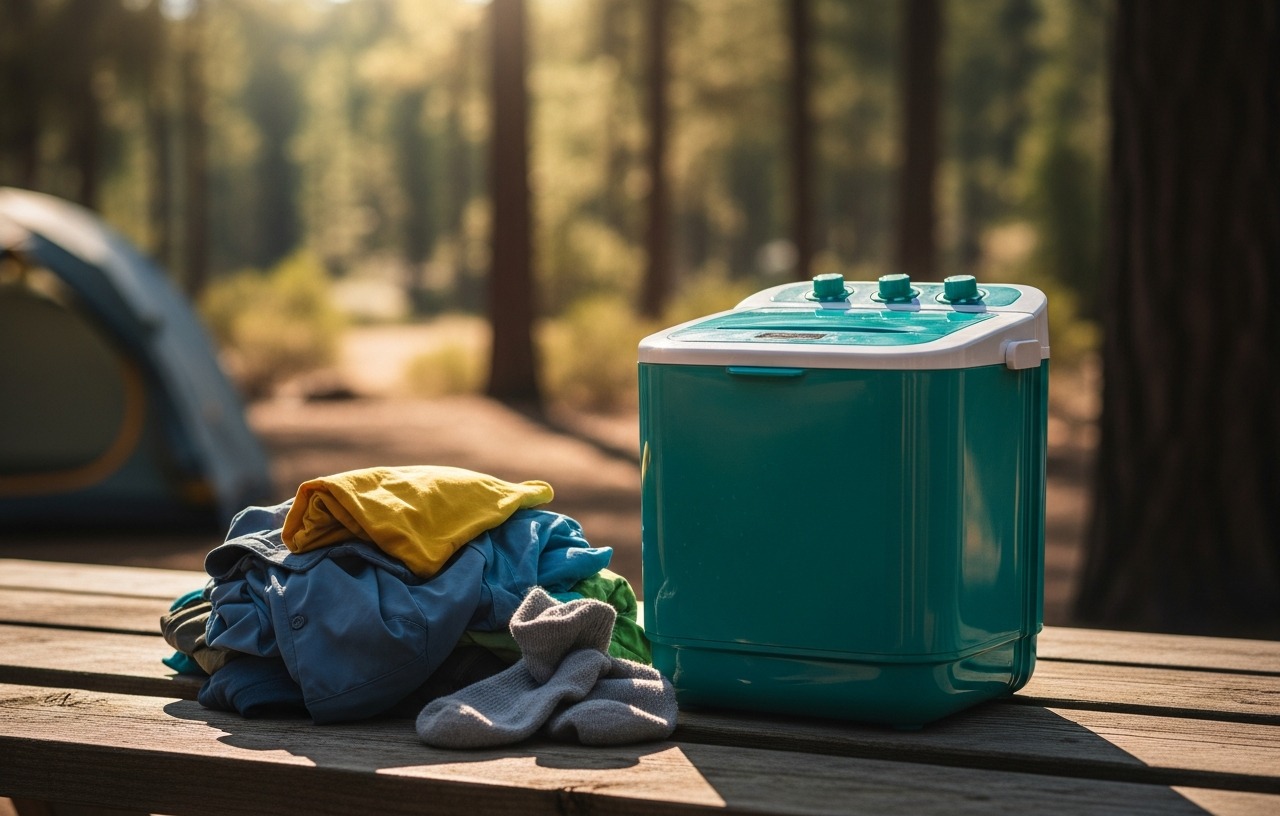
For those living in RVs or camping, portable washing machines provide an essential amenity. They allow for clean clothes even when off-grid, often using less water than a laundromat. Models like those reviewed in The Best Portable Washing Machines for RV Living & Camping offer features specifically designed for mobile use.
Our Top PicksTop Pick K&J Premium 6ft Washing Machine Hoses Burst Proof 2 Pack - Hot and Cold Water Supply Hoses for Washing Machines (Stainless Steel)Check Price on Amazon2 PACK 6FT Rubber Washing Machine Hoses Burst Proof Washer Water Hoses for Hot and Cold Water 3/4" Connection Water Supply LinesCheck Price on Amazon4 Ft Washing Machine Hoses, 2 Packs Premium Stainless Steel Washer Hoses Burst Proof, Hot and Cold Striped Water Supply HosesCheck Price on Amazon