DIY Guide: How to Install a Countertop Dishwasher in Any Kitchen
Adding a countertop dishwasher can significantly ease the burden of dishwashing, especially for those in apartments, RVs, or homes with compact kitchens. Unlike their built-in counterparts, these units offer flexibility and a simpler installation process. This guide will detail how to hook up a portable dishwasher, ensuring a functional and leak-free setup.
Understanding Your Countertop Dishwasher
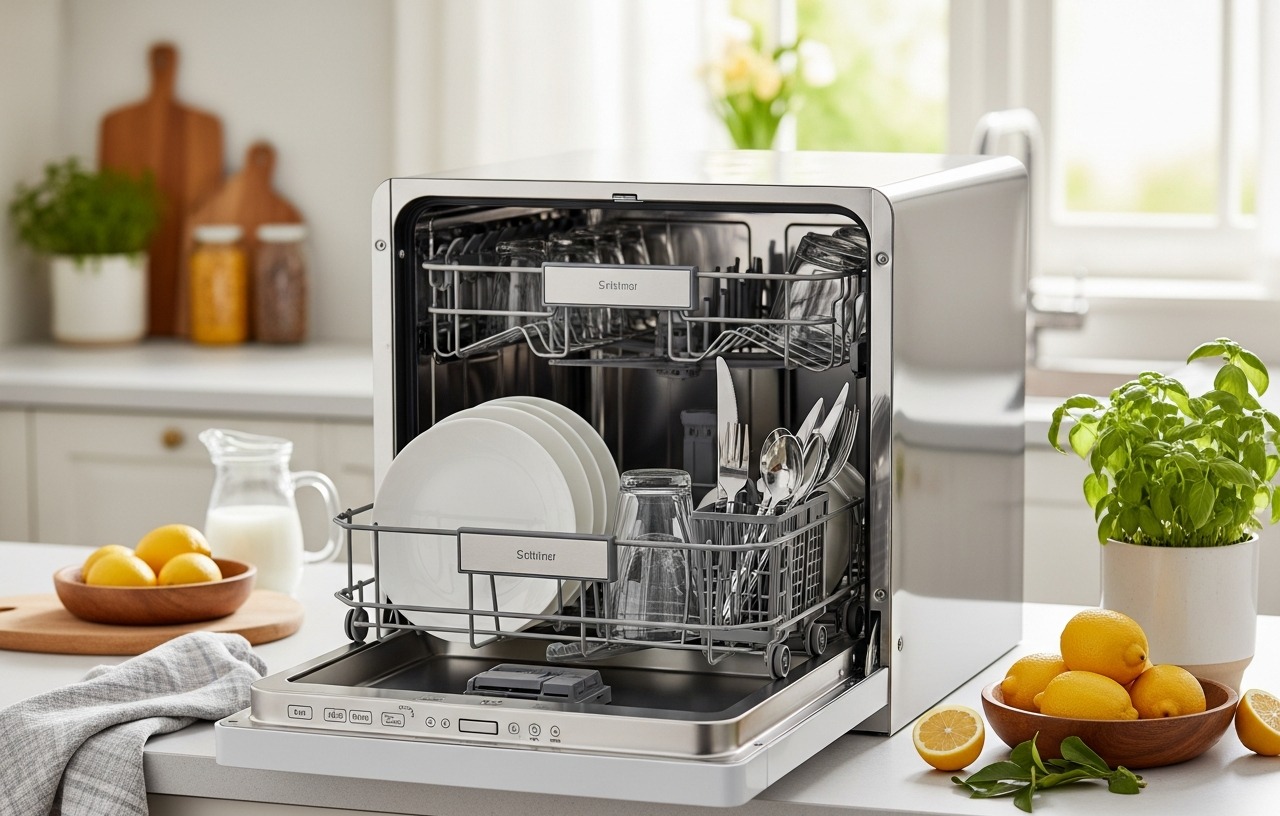
Countertop dishwashers are designed for convenience. They typically connect directly to your kitchen faucet for both water intake and drainage. The water inlet hose draws clean water from the faucet, while the drain hose expels dirty water into the sink. Note: Not all faucets are compatible. Check your dishwasher's manual for specifications. Some adapters are universal, while others are specific to certain faucet types.
step by step Installation Process
Step 1: Prepare the Dishwasher and Your Kitchen
Time Estimate: 5-10 minutes
Unpack your dishwasher and remove all packaging materials. Place the unit on a dry, stable surface near your kitchen sink and a power outlet. Ensure there is enough clearance around the appliance for ventilation, as specified in the owner's manual.
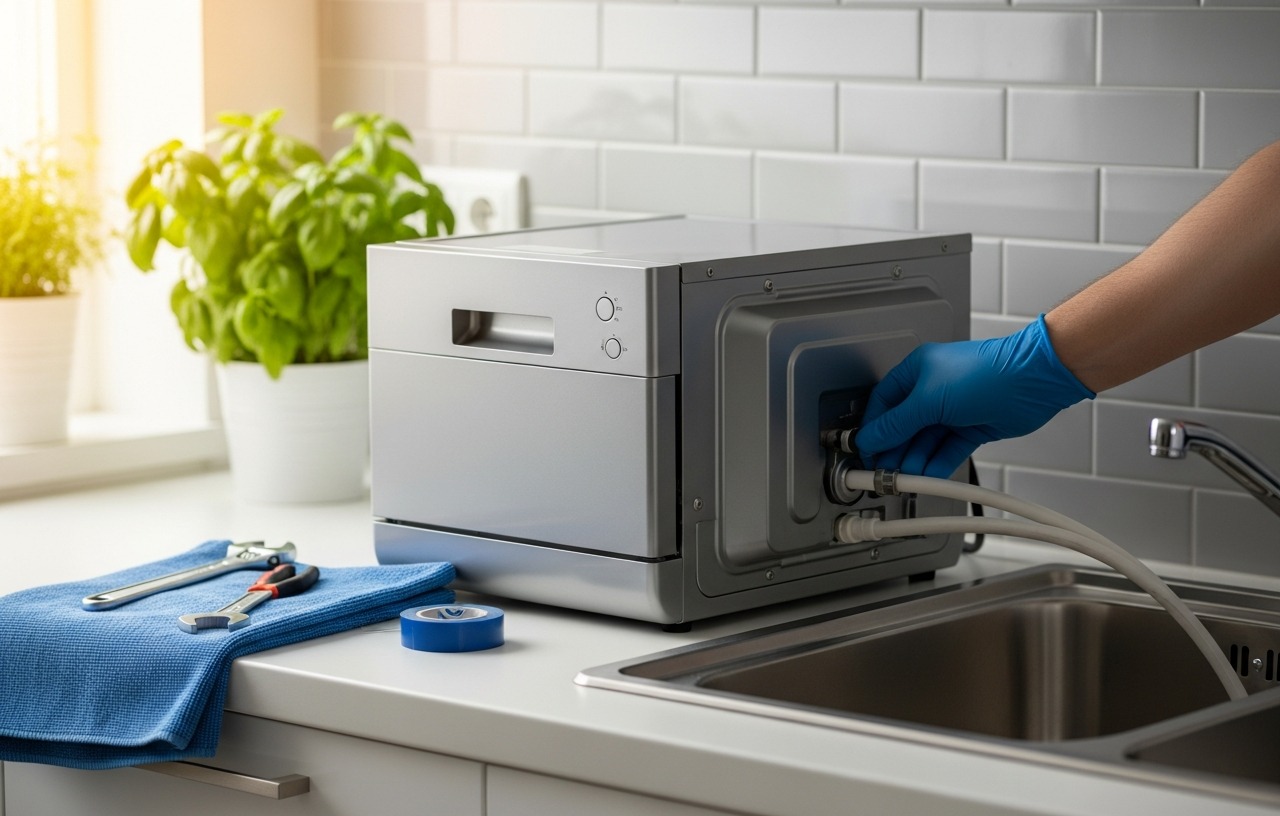
Step 2: Connect the Water Inlet Hose
Time Estimate: 5-15 minutes
Locate the water inlet hose on the back of your dishwasher. This hose will connect to the faucet adapter. Some dishwashers have a quick-connect fitting, while others require screwing the hose onto a specific port. Refer to your dishwasher's manual for precise instructions.
Safety Warning: Ensure the dishwasher is unplugged from the power outlet before making any water connections.

- Efficient Snap-on Connection: Make your dishwashing routine smooth and hassle-free with our portable.
- Metal Construction for Longevity: Crafted from high quality metal with a chrome-plated surface, our faucet.
- Male Female Threads: Designed for compatibility, our quick connect faucet adapter boasts a female thread.
- Dual Functionality with Built-in Aerator: Experience versatility at its best with our innovative.
Step 3: Install the Faucet Adapter
Time Estimate: 5-10 minutes
This is a critical step for how do you hook up a portable dishwasher. Remove the aerator from your kitchen faucet by unscrewing it. Most faucet spouts have standard threads. Clean the faucet threads if necessary.
Attach the faucet adapter. Many adapters have both male and female threads to fit various faucets. Some adapters, like the 2 Pcs Portable Dishwasher Faucet Adapter, offer versatile connection options. Ensure the rubber washer or seal inside the adapter is properly seated for a watertight seal. Screw the adapter onto the faucet spout. Hand-tighten first, then use pliers gently if needed, being careful not to overtighten, especially on delicate faucet finishes.
If your adapter has a quick-connect feature, ensure it's aligned correctly for the dishwasher hose. If you're using an adapter that requires threading, ensure it's secure. Some manufacturers recommend using Teflon tape on faucet threads for a better seal.
Tip: Test the adapter connection by turning on the cold water briefly. Check for any drips around the connection point. If leaks occur, remove the adapter, re-seat the washer, and try again. Some faucet types, like pull-out sprayers, may not be compatible with standard adapters. In such cases, you might need a specialized adapter or a different connection method.
The Hibbent 2 PACK Faucet to Dishwasher Adapter is another option, featuring a snap-on coupling and a ball joint for 360-degree swivel, which can be beneficial for positioning the hose.
Step 4: Connect the Dishwasher to the Faucet
Time Estimate: 2-5 minutes
With the faucet adapter securely in place, connect the dishwasher's water inlet hose to the adapter. If it's a quick-connect fitting, push it firmly until it clicks into place. If it's a threaded connection, screw it on hand-tight, then give it a quarter-turn with pliers if needed. Make sure the connection is snug to prevent leaks.
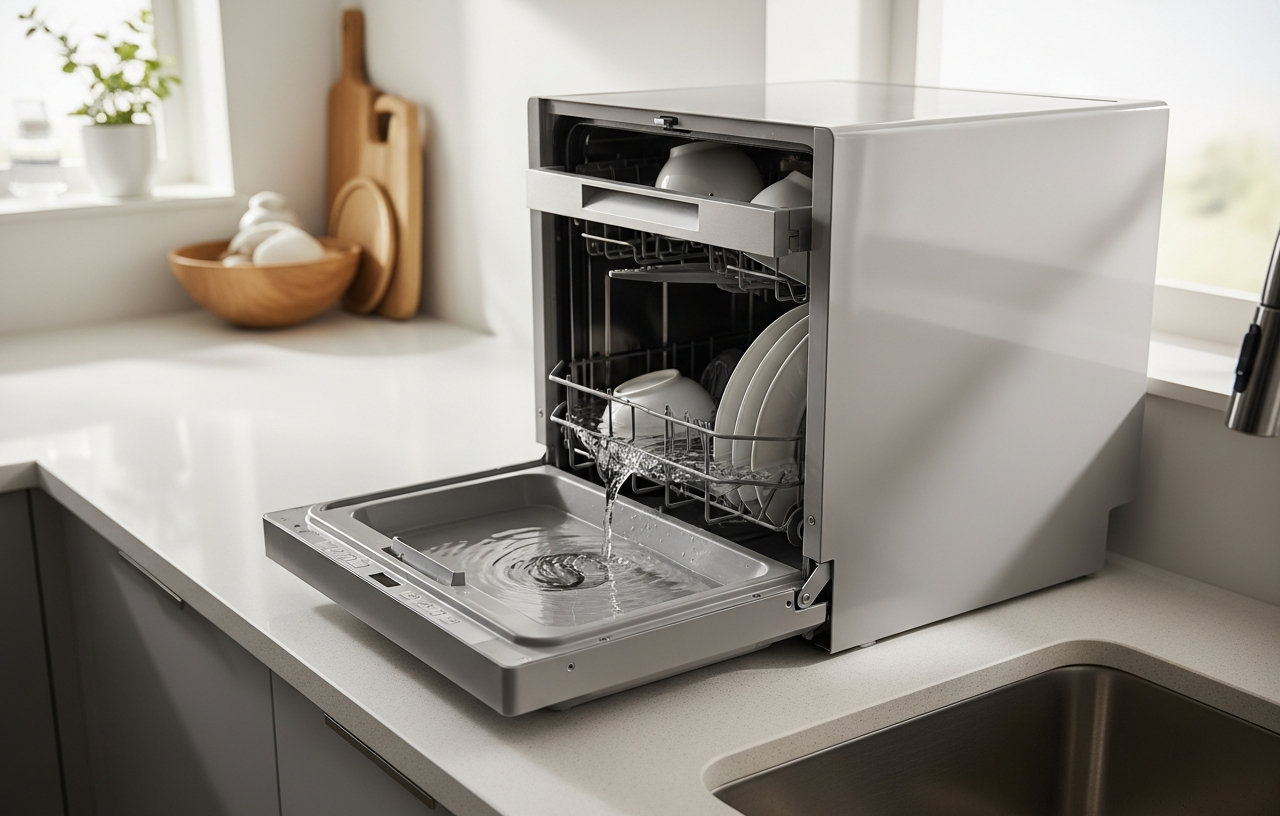
Step 5: Position the Drain Hose
Time Estimate: 5 minutes
The drain hose typically hangs over the edge of your sink. Ensure it is positioned securely so it doesn't fall out during the wash cycle. Some dishwashers come with a rubber strap or suction cup to help hold the drain hose in place. If not, you can use a zip tie or a specialized drain hose holder.
Important: The drain hose should not be submerged in water in the sink, as this can create a siphoning effect and interfere with proper drainage. It should also not be kinked, which would obstruct water flow.
Considerations for Quartz Countertops: If you have a quartz countertop, you might need to secure the dishwasher for stability. While many countertop dishwashers have non-slip feet, smooth quartz surfaces can sometimes allow the unit to shift. You can often attach a small L-bracket to the underside of the countertop overhang and then to the back of the dishwasher for added security. This is a more advanced step and may require drilling into the underside of the countertop or using strong adhesive mounts. Always check how to attach a dishwasher to quartz countertop guidelines specific to your countertop material and the dishwasher model.
How to attach dishwasher to quartz countertop can sometimes be as simple as ensuring the unit sits flush and stable. However, for added safety, particularly in high-traffic areas or RVs, securing it is advisable. Research how to secure dishwasher to quartz countertop methods that do not damage the surface.
Step 6: Connect the Power and Run a Test Cycle
Time Estimate: 10-20 minutes
Plug the dishwasher's power cord into a grounded electrical outlet. Make sure the outlet is not shared with other high-power appliances, as this can overload the circuit. Check your dishwasher's manual for specific electrical requirements.
Once everything is connected, run a short test cycle (like a rinse cycle) without any dishes inside. During the cycle, carefully observe the water inlet connection at the faucet and the drain hose in the sink. Watch for any leaks or unusual noises.
Verify that water is entering the machine and that it is draining properly into the sink. If you notice any leaks, immediately stop the cycle and unplug the unit. Recheck all connections, especially the faucet adapter and hose fittings. Tighten or re-seat as necessary.
If the test cycle completes without issues, your countertop dishwasher is ready for use. Proper installation ensures efficient operation and prevents water damage.
Troubleshooting Common Installation Issues
Leaks at the Faucet: This is often due to an improperly seated washer in the adapter, overtightening, or an incompatible faucet. Try a different adapter or ensure the washer is flat and secure.
Water Not Entering: Check that the water supply is turned on and that the inlet hose is not kinked. Ensure the faucet adapter is correctly installed and not blocking water flow.
Poor Draining: Verify the drain hose is not kinked or clogged. Ensure it is positioned correctly over the sink and not submerged.
Dishwasher Not Powering On: Double-check that the unit is securely plugged into a working outlet. Check your home's circuit breaker.
Conclusion
Installing a countertop dishwasher is a practical DIY task that can be completed with basic tools and a little care. Remember to consult your specific model's manual for any unique requirements or recommendations.com/mini-fridges/best-mini-fridge-apartment-quiet-compact/">best mini fridges for apartment living.