Why Is My Portable Ice Maker Leaking Water Underneath?
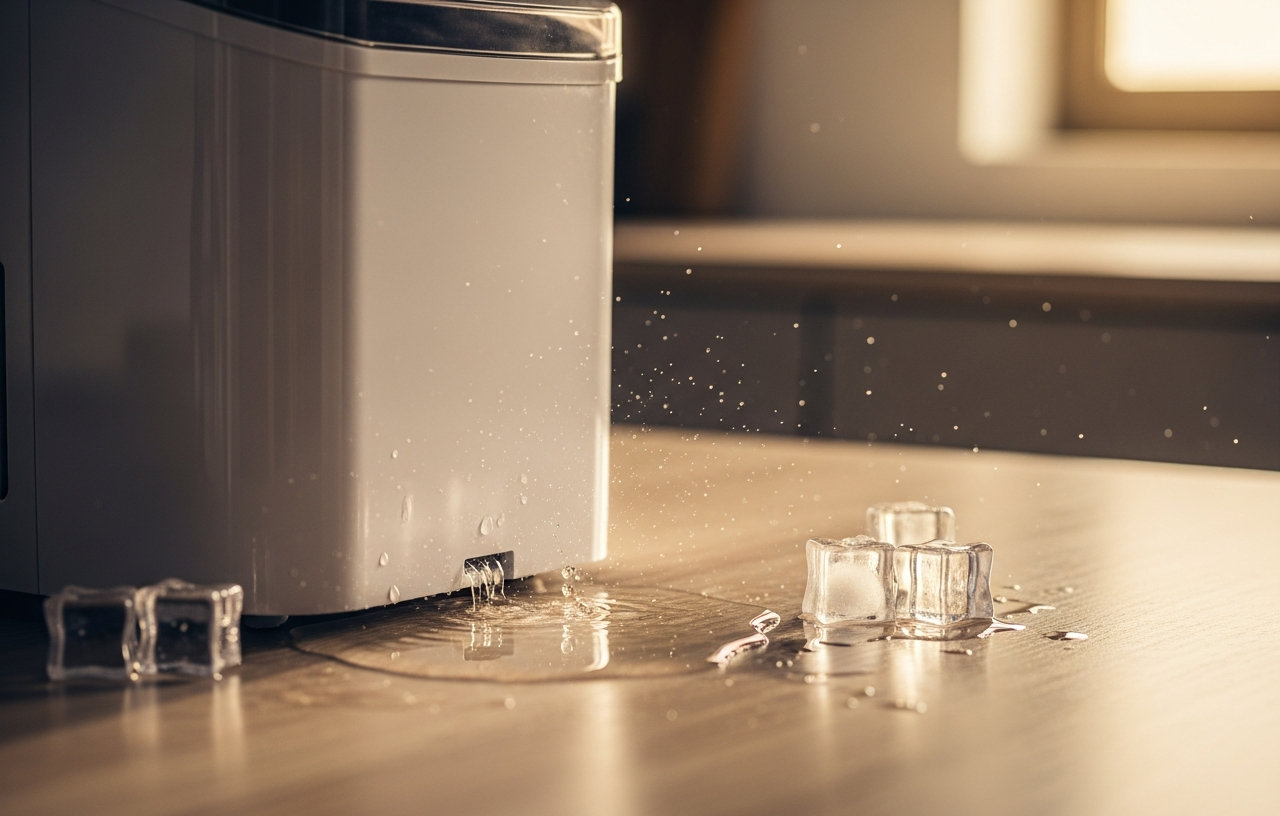
A portable ice maker that suddenly leaks water underneath can soak countertops and damage cabinets. These compact appliances are convenient for small spaces and RVs, but leaks can quickly turn a helpful tool into a nuisance. Understanding the common causes behind water pooling beneath your machine helps you diagnose and fix the problem efficiently. Most leaks are minor and fixable with simple troubleshooting steps.
1. Overfilling the Water Reservoir
The most frequent reason a portable ice maker leaks is simply too much water. Every portable ice maker has a maximum fill line, usually clearly marked inside the water reservoir. Exceeding this line, even slightly, means the machine cannot contain all the water during operation, especially as the pump circulates it. This excess water will find its way out, often spilling over the top edge of the reservoir or through internal vents, then dripping down to pool underneath the unit.
How to Fix It:
- Check the Fill Line: Always fill the reservoir to or slightly below the maximum fill line. Do not guess.
- Empty and Refill: If you suspect overfilling, unplug the unit, drain all the water, and refill it carefully to the correct level.
- Observe: Run the ice maker again and watch for immediate leaks to confirm if this was the cause.
This is a free fix that only requires attention to detail. Make sure you use the correct amount of water for your model.
2. Clogged or Kinked Drain Plug/Hose
Many portable ice makers include a drain plug or hose, typically located at the bottom or side of the unit, used for emptying the reservoir for cleaning or storage. If this drain plug is not fully sealed, or if the internal drain hose becomes kinked or clogged with mineral deposits or debris, water can escape. A partial clog can cause water to back up and overflow other internal components, eventually leaking out of the bottom of the machine.
How to Fix It:
- Inspect the Drain Plug: Make sure the drain plug is securely inserted and creating a tight seal. Sometimes, it can loosen over time or after cleaning.
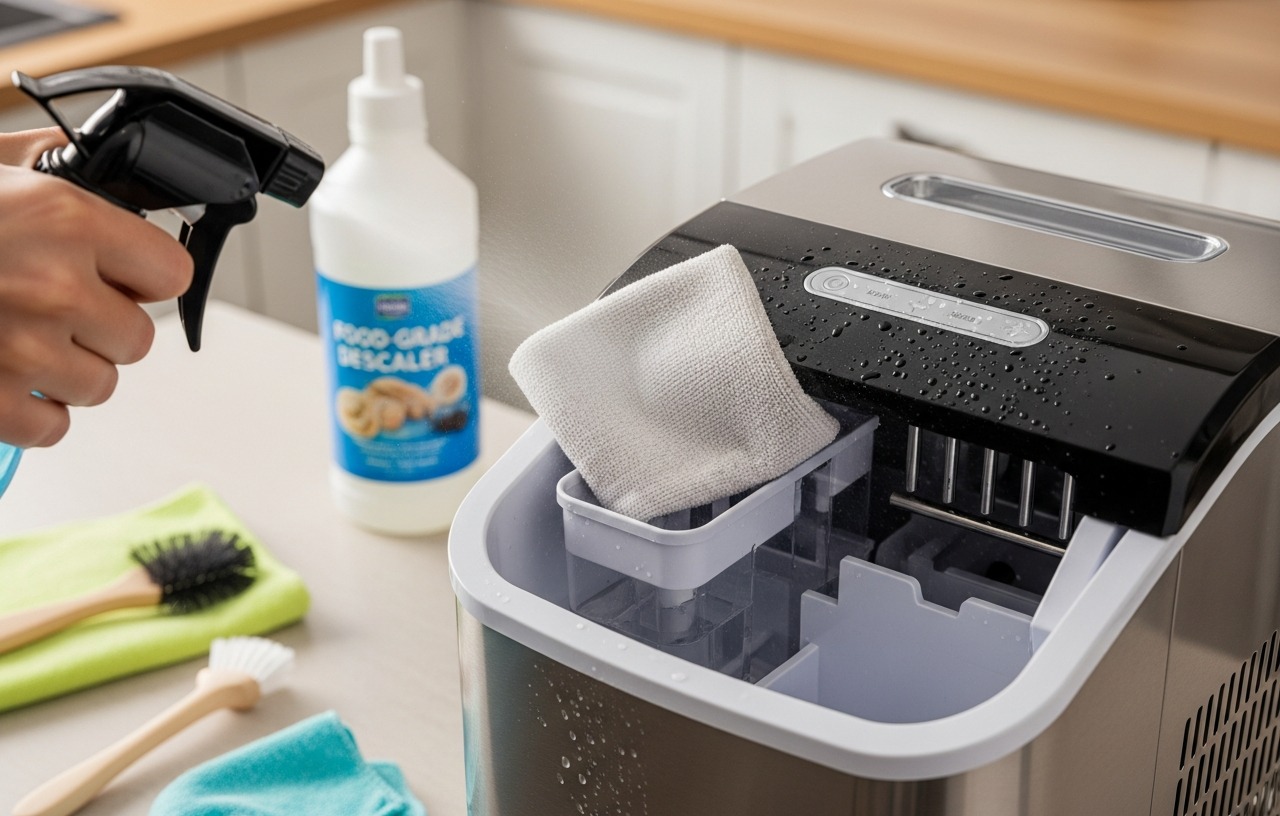
- Clear the Drain: If your unit has an external drain hose, check it for kinks or blockages. For internal clogs, drain the unit completely. Mix a solution of equal parts white vinegar and water, pour it into the reservoir, and let it sit for 30 minutes to an hour to dissolve mineral buildup. Drain the solution, then flush with clean water.
- Cleaning Cycle: Many ice makers have a self-cleaning cycle that can help clear minor clogs. Run this cycle if your model has one.
Cleaning supplies like white vinegar cost under $5. This fix usually requires no professional help. If the drain plug itself is damaged, a replacement can cost $5-15, depending on the manufacturer.
To learn more about keeping your ice maker in top shape, read our guide on How to Clean a Countertop Ice Maker.
3. Cracked Water Line or Reservoir
Internal components, such as the water lines that transport water from the reservoir to the ice-making mechanism, or the reservoir itself, can develop cracks. These cracks can result from accidental drops, freezing temperatures (if the unit was stored improperly in a cold environment), or simply material fatigue over time. Even a hairline crack can allow a steady drip of water.
How to Fix It:
- Visual Inspection: Unplug the ice maker and carefully remove any accessible panels. Look closely at all water lines and the reservoir for visible cracks, even small ones. Use a flashlight for better visibility.
- Patching (Temporary): For very small cracks in the reservoir, a food-grade epoxy or waterproof sealant might offer a temporary fix. This is not a permanent solution for parts under pressure.
- Part Replacement: The most reliable fix is to replace the cracked component. Identifying the specific part number and ordering it from the manufacturer or an appliance parts supplier is necessary.
A replacement water line or reservoir can cost between $20 and $50, plus shipping. If you are comfortable with basic appliance repair, you might perform this yourself. Professional repair, if parts are available and the technician is willing to work on portable units, could range from $100 to $250, including parts and labor. Sometimes, the cost of repair approaches the cost of a new unit.
4. Loose or Damaged Water Pump
The water pump is responsible for circulating water from the reservoir to the freezing plate. If the pump itself is damaged, or if the connections (hoses) to and from the pump become loose or cracked, water can escape. A loose connection might simply need tightening, while a damaged pump or hose will require replacement.
How to Fix It:
- Access the Pump: Unplug the unit and carefully open the casing to access the internal components. Refer to your ice maker's manual for specific instructions on how to do this safely.
- Check Connections: Inspect all hoses connected to the water pump. Make sure they are securely attached with no visible cracks or wear. Use pliers to gently tighten any loose clamps.
- Inspect the Pump: Look for any visible damage to the pump housing. If the pump appears to be the source of the leak, it likely needs replacement.
A new water pump for a portable ice maker typically costs $20-50 for the part itself. DIY replacement is possible for those with mechanical aptitude. Professional repair for a faulty water pump, including parts and labor, generally falls in the $100-200 range. This repair is often worth considering if the ice maker is otherwise in good condition.
5. Condensation Issues
While not a direct leak from the water system, condensation can sometimes mimic a leak. If your ice maker operates in a very humid environment or if there is insufficient air circulation around the unit, condensation can form on the exterior surfaces. This condensation can then drip down and accumulate underneath the machine, making it appear as if the unit is leaking. This is more common in hot, humid climates or when the ice maker is placed in an enclosed space like a cabinet without proper ventilation.
How to Fix It:
- Improve Air Circulation: Make sure there is ample space around all sides of the ice maker, especially the vents. Do not place it in a confined cabinet.
- Reduce Humidity: Use a dehumidifier in the room if humidity is a consistent problem.
- Wipe Down: Regularly wipe down any exterior condensation to prevent accumulation.
This fix costs nothing if you adjust placement. A small room dehumidifier can cost $40-100.
6. Defective Float Sensor
Portable ice makers use a float sensor to detect the water level in the reservoir and signal the machine to stop filling. If this sensor malfunctions, it might not correctly register the water level, causing the pump to continue filling past the maximum line. This leads directly to overfilling and subsequent leaks.
How to Fix It:
- Clean the Sensor: Unplug the unit. Locate the float sensor (often a small plastic arm or buoyant component) inside the reservoir. Clean it gently with a soft cloth and a vinegar-water solution to remove any mineral buildup that might be impeding its movement.
- Test Functionality: After cleaning, manually move the float sensor up and down to make sure it moves freely. If it still does not operate correctly, the sensor itself might be faulty.
Replacing a float sensor can be complex, as it often involves accessing internal wiring. The part itself might cost $10-30. Due to the complexity, professional repair might be necessary, costing $100-200 if the technician is experienced with these compact units.
7. Damaged Evaporator or Refrigeration System
This is a rarer and more serious cause of leaks. The evaporator is where the ice forms, and a defect here could potentially cause a leak. More broadly, issues with the sealed refrigeration system, such as a refrigerant leak, can also appear as water leaks, although refrigerant leaks usually involve an oily residue or a distinct chemical smell, not just clear water. If the evaporator plate itself is cracked or damaged, water intended for ice formation can seep through.
How to Fix It:
- Professional Diagnosis: Issues with the sealed refrigeration system or evaporator require a qualified appliance technician. Do not attempt to repair these yourself, as it involves handling refrigerants and specialized tools.
- Consider Replacement: For many portable ice makers, the cost of repairing a damaged refrigeration system, which can exceed $200-300, often makes purchasing a new unit a more economical choice.
When to Call a Professional
Most portable ice maker leaks can be resolved with simple DIY troubleshooting, especially those related to overfilling or drain clogs. You should consider calling a professional appliance repair technician if:
- You cannot identify the source of the leak after checking the common issues.
- The leak appears to be coming from an internal component that requires dismantling the unit beyond basic access panels.
- You suspect a problem with the water pump, float sensor, or, most importantly, the sealed refrigeration system.
- The repair involves electrical components or refrigerant handling.
Always weigh the cost of professional repair against the price of a new portable ice maker. For smaller, less expensive models (under $150), repair might not be cost effective. For higher-end models, a repair can be a good investment. Find more details on repair costs in our article, Ice Maker Repair Cost: Is It Worth Fixing Your Portable Machine?
Preventing Future Leaks
Preventative measures can significantly reduce the likelihood of your portable ice maker leaking:
- Follow Fill Lines: Always adhere strictly to the maximum fill line in the water reservoir.
- Regular Cleaning: Clean your ice maker every 2-4 weeks, especially in areas with hard water, to prevent mineral buildup in hoses, pumps, and sensors. Use a descaling solution or vinegar.
- Proper Placement: Place the ice maker on a level, stable surface with adequate ventilation around it. Avoid direct sunlight or excessively humid environments.
- Drain Properly: Make sure the drain plug is always securely in place when the machine is in use and fully open when draining.
- Inspect Hoses: Periodically check visible hoses and connections for wear, cracks, or looseness.
- Use Distilled Water: If your tap water has high mineral content, using distilled or filtered water can reduce buildup and extend the life of internal components, preventing clogs and wear.