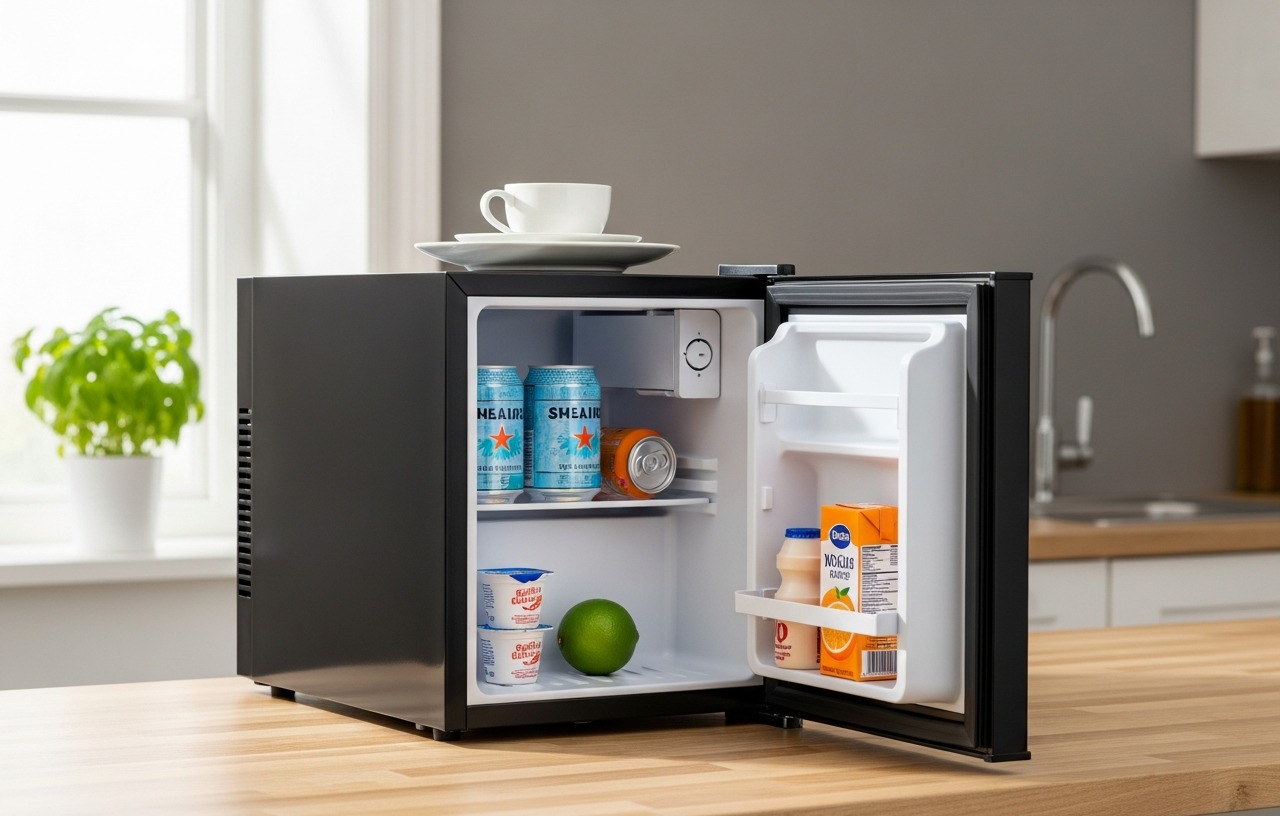
Warm air infiltration is a primary cause of poor cooling performance and increased energy consumption in mini fridges. The door seal, also known as the gasket, creates an airtight barrier. When this seal fails, your mini fridge works harder to maintain temperature, leading to higher electricity bills and potentially spoiled food. Addressing a poor door seal promptly can restore efficiency and protect your fridge's contents.
Signs Your Mini Fridge Door is Not Sealing Properly
Identifying a compromised door seal often starts with observing specific symptoms. Common indicators include condensation or frost buildup inside the fridge, even when not due for defrosting. You might also notice that food items, especially those stored near the door, are not as cold as they should be. The fridge motor may run more frequently or for longer periods than usual, indicating it is struggling to maintain its set temperature. Visible gaps around the door or a gasket that feels hard, brittle, or torn are also clear signs of trouble.
A simple test involves placing a dollar bill or a thin piece of paper between the door and the fridge frame, then closing the door. If you can easily pull the paper out, the seal is weak at that spot. Repeat this around the entire perimeter of the door. Another method involves placing a flashlight inside the fridge and closing the door in a dark room. If light leaks out around the door, the seal is compromised.
Common Fixes for a Mini Fridge Door Not Sealing
1. Dirty or Damaged Door Gasket (Most Common Cause)
The rubber or vinyl gasket around your mini fridge door is the most frequent culprit for a poor seal. Over time, food crumbs, spills, and general grime can accumulate on the gasket, preventing it from making full contact with the fridge frame. Additionally, the gasket material can dry out, become brittle, crack, or tear, especially with age or improper cleaning.
Cleaning the Gasket
This is the simplest and often most effective fix. Open the mini fridge door and carefully inspect the entire gasket. Use a soft cloth dampened with warm water and a mild dish soap solution to wipe down the gasket. Pay close attention to any grooves or crevices where debris might hide. For stubborn grime or mildew, a toothbrush can help. Rinse with clean water and dry thoroughly with a separate cloth. Make sure the gasket is completely dry before closing the door.
Restoring Gasket Flexibility
If the gasket feels stiff or has lost its elasticity but is not visibly damaged, you can try to restore its flexibility. Gently warm the gasket with a hairdryer on a low setting, moving it continuously to avoid melting the material. As it warms, the gasket should become softer and more pliable. You can also carefully pull the gasket away from the door frame slightly and then push it back into place to help it reseat properly. Some people also apply a thin layer of petroleum jelly or a silicone lubricant to the clean gasket to help it maintain its pliability and create a smoother seal. This can cost less than $5 for materials.
Repairing or Replacing a Damaged Gasket
For minor tears or cracks, a small amount of silicone sealant or super glue can provide a temporary fix. However, for significant damage, a full gasket replacement is usually necessary. You will need to order a replacement gasket specific to your mini fridge's make and model. This information is typically found on a label inside the fridge. Replacing a gasket often involves carefully prying out the old one and pressing the new one into place, sometimes with the help of screws or adhesive. The cost for a replacement gasket ranges from about $20 to $60, depending on the fridge model. This is a common DIY repair that can significantly improve your mini fridge's performance. You can find detailed instructions for your specific model online or in its user manual.
2. Misaligned Door
A mini fridge door that is not perfectly aligned with the frame will not seal evenly. This can happen due to loose hinges, heavy items stored on the door shelves, or even just general wear and tear over time. A misaligned door can create gaps where warm air can enter.
Adjusting Hinges
Most mini fridges have adjustable hinges. To check for misalignment, open the door and look at the hinges. If they appear loose or crooked, you can tighten the screws holding them in place. Sometimes, you may need to slightly loosen the screws, gently adjust the door's position to ensure it hangs straight and flush, and then re-tighten. Make sure not to overtighten, as this can strip the screws or damage the door frame. After adjustment, perform the dollar bill test again to confirm the seal is consistent around the entire door. This fix typically costs nothing unless you need new screws, which are usually under $5.
3. Overpacking or Obstructions
Sometimes, the simplest explanation is the correct one. If your mini fridge is overpacked, items can protrude from the shelves and prevent the door from closing completely. Similarly, bottles, cans, or food containers on the door shelves might stick out too far or be placed incorrectly, creating a physical barrier to a proper seal.
Check the interior of your mini fridge to make sure no items are blocking the door from closing fully. Rearrange contents, remove any bulky items that are pressing against the door, and make sure shelves are properly inserted. This costs nothing and is a quick check to perform.
4. Uneven Leveling
A mini fridge that is not level can cause the door to sag or not align correctly, leading to a poor seal. Even a slight tilt can impact how the door closes.
Adjusting Leveling Feet
Most mini fridges have adjustable leveling feet at the bottom. Use a level to check if your fridge is sitting evenly on the floor. If it is tilted, twist the leveling feet to raise or lower each corner until the fridge is perfectly level. Some models may have shims or blocks under the feet instead of adjustable screws. This adjustment ensures the door hangs and closes squarely, allowing the gasket to make full contact. This is a free fix.
5. Excessive Frost Buildup
In non-auto-defrost mini fridges, a thick layer of frost or ice can accumulate on the interior walls or around the freezer compartment. This frost buildup can sometimes interfere with the door's ability to close properly, especially if it extends to the door frame or gasket area. It also makes the fridge work harder, similar to a poor seal.
Defrosting the Mini Fridge
If you notice significant frost, it is time to defrost your mini fridge. Unplug the unit, remove all contents, and leave the door open. Placing towels on the floor around the fridge can catch melting ice. You can speed up the process by placing bowls of hot water inside or using a hairdryer on a low setting, keeping it moving to avoid damaging plastic components. Never use sharp objects to chip away ice, as this can puncture refrigerant lines. Once defrosted, clean and dry the interior before plugging it back in and reloading. Regular defrosting, typically every few months, helps maintain efficiency and prevents seal issues. This is a free maintenance task.
Learn how to defrost a mini fridge step by step.
6. Worn Hinges or Door Frame Issues
While less common than gasket issues, severely worn or damaged door hinges can prevent the door from closing correctly, even after tightening. If the hinges themselves are bent, corroded, or broken, they may need replacement. Similarly, if the door frame itself is warped or damaged, it can prevent a flush seal.
Inspect the hinges for physical damage beyond simple looseness. Replacement hinges, if available, can cost $10 to $30. If the door frame itself is warped, this is a more significant structural issue that is generally not repairable by a homeowner. In such cases, the cost of professional repair may approach or exceed the cost of a new mini fridge.
When to Call a Professional
Most mini fridge door sealing issues are relatively easy to diagnose and fix with basic tools and a little patience. However, there are times when professional help might be necessary. If you have tried all the common troubleshooting steps and the door still does not seal, or if you suspect internal damage to the fridge's structure or cooling system, calling a professional appliance repair technician is a good idea. Professional service calls can range from $75 to $150 for diagnosis, plus the cost of parts and labor for any repairs. Given that many mini fridges cost between $100 and $300 new, weigh the repair cost against purchasing a new unit, especially for older models.
Troubleshoot a mini fridge that is not cooling at all.
A properly sealing mini fridge door is essential for its efficiency and the longevity of your stored items. By systematically checking the gasket, door alignment, leveling, and internal contents, you can often resolve sealing problems without professional help. Regular cleaning and maintenance of the gasket will also help prevent future issues.