Why Cleaning Mini Fridge Coils Matters
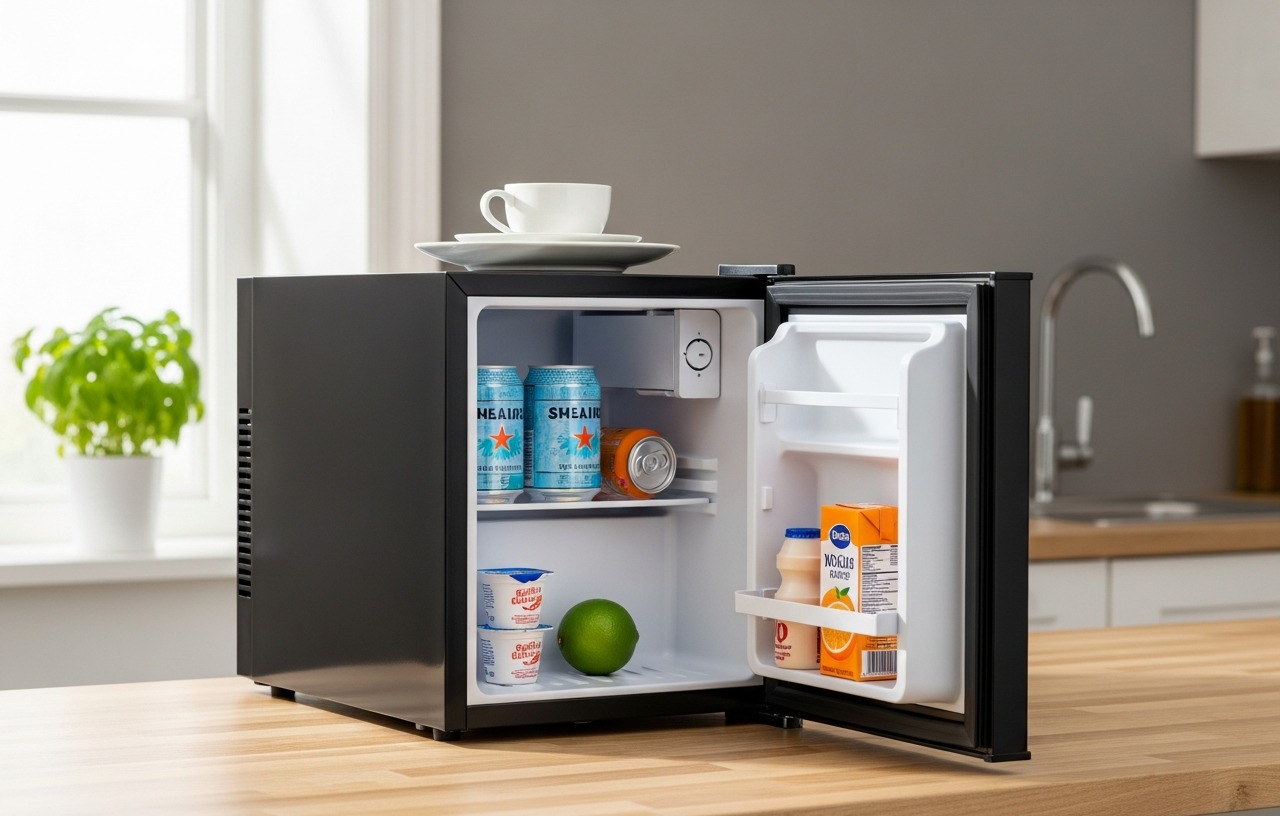
Mini fridges, like their full-sized counterparts, rely on a system of coils to dissipate heat and keep contents cool. These condenser coils, often located at the back or underneath the unit, collect dust, pet hair, and other debris over time. A layer of grime acts as an insulator, trapping heat and forcing the compressor to work significantly harder. This increased workload directly translates to higher energy consumption, reduced cooling efficiency, and a shorter lifespan for your appliance.
Many apartment dwellers, college students, and RV owners depend on mini fridges for daily convenience. Keeping the coils clean is a simple maintenance task that yields noticeable benefits. It helps maintain consistent temperatures, prevents premature breakdowns, and keeps your electricity bill lower. Ignoring this task can lead to your mini fridge struggling to cool, even on its coldest settings.
Understanding Your Mini Fridge's Condenser Coils
The condenser coils are part of your mini fridge's refrigeration system. Refrigerant gas circulates through these coils, releasing the heat it absorbed from inside the fridge into the surrounding air. When dust coats the coils, this heat transfer becomes less efficient. The compressor runs longer and more frequently to compensate, leading to wear and tear.
Most mini fridges feature coils either exposed at the back or hidden behind a removable access panel, typically at the bottom rear. Some compact models, particularly those designed for quiet operation, may have their coils integrated differently, but the principle of heat dissipation remains. Identifying their location is the first step in effective cleaning.
When to Clean Your Mini Fridge Coils
A good rule of thumb is to clean your mini fridge coils every six to twelve months. If you have pets that shed heavily, or if your mini fridge is in a dusty environment, consider cleaning them more frequently, perhaps every three to four months. You might notice signs that indicate it is time for a cleaning:
- The mini fridge runs constantly or cycles on and off more often than usual.
- Food inside does not seem as cold as it should be, even at lower temperature settings.
- The exterior of the fridge, especially near the coils, feels excessively warm.
- Your electricity bill sees an unexplained increase.
Addressing these signs promptly can prevent more serious cooling issues. For deeper cooling problems, see our guide on Mini Fridge Not Cooling? Common Fixes & Repair Costs.
Tools and Materials You Will Need
Cleaning your mini fridge coils does not require specialized equipment. Most items are readily available around the house. Gather these before you start:
- Vacuum cleaner with a brush attachment: Essential for removing loose dust.
- Coil cleaning brush or stiff bristled brush: A long, narrow brush, often costing around $10-$20, is ideal for reaching between coils. A paintbrush or a bottle brush can work in a pinch.
- Screwdriver: Phillips or flathead, depending on your mini fridge's access panel screws.
- Flashlight: Helps illuminate dark areas behind or beneath the fridge.
- Dust mask and gloves: Recommended for personal safety, especially if dealing with significant dust buildup.
- Soft cloth or paper towels: For wiping down surfaces.
step by step Guide: How to Clean Mini Fridge Coils
Follow these steps to effectively clean the condenser coils on your mini fridge. The entire process typically takes 20 to 45 minutes, depending on the level of dirt and ease of access.
Step 1: Unplug the Mini Fridge (Safety First)
- Disconnect Power: Locate the power cord and unplug the mini fridge from the wall outlet. This is a critical safety step to prevent electrical shock. Do not skip this.
- Move Away: Gently pull the mini fridge away from the wall or surrounding cabinetry. You will need enough space to comfortably access the back or bottom of the unit.
Step 2: Locate the Condenser Coils
- Check the Back: For many older or simpler mini fridge models, the coils are visible on the back of the unit. They look like a black grid of tubing.
- Check Underneath/Behind a Panel: For newer or more compact designs, the coils may be underneath the fridge, accessible by removing a small access panel at the lower rear. Use your screwdriver to carefully remove any screws holding this panel in place. Place the screws in a safe spot so you do not lose them.
- Use a Flashlight: Shine your flashlight into the area to get a clear view of the coils and the extent of dust buildup.
Step 3: Initial Dust Removal
- Vacuum Loose Debris: Use your vacuum cleaner with the brush attachment to gently suction away any loose dust, cobwebs, or pet hair from the coils and the surrounding area. Be careful not to bend or damage the delicate fins or tubing. Move slowly and deliberately.
Step 4: Deep Cleaning with a Coil Brush
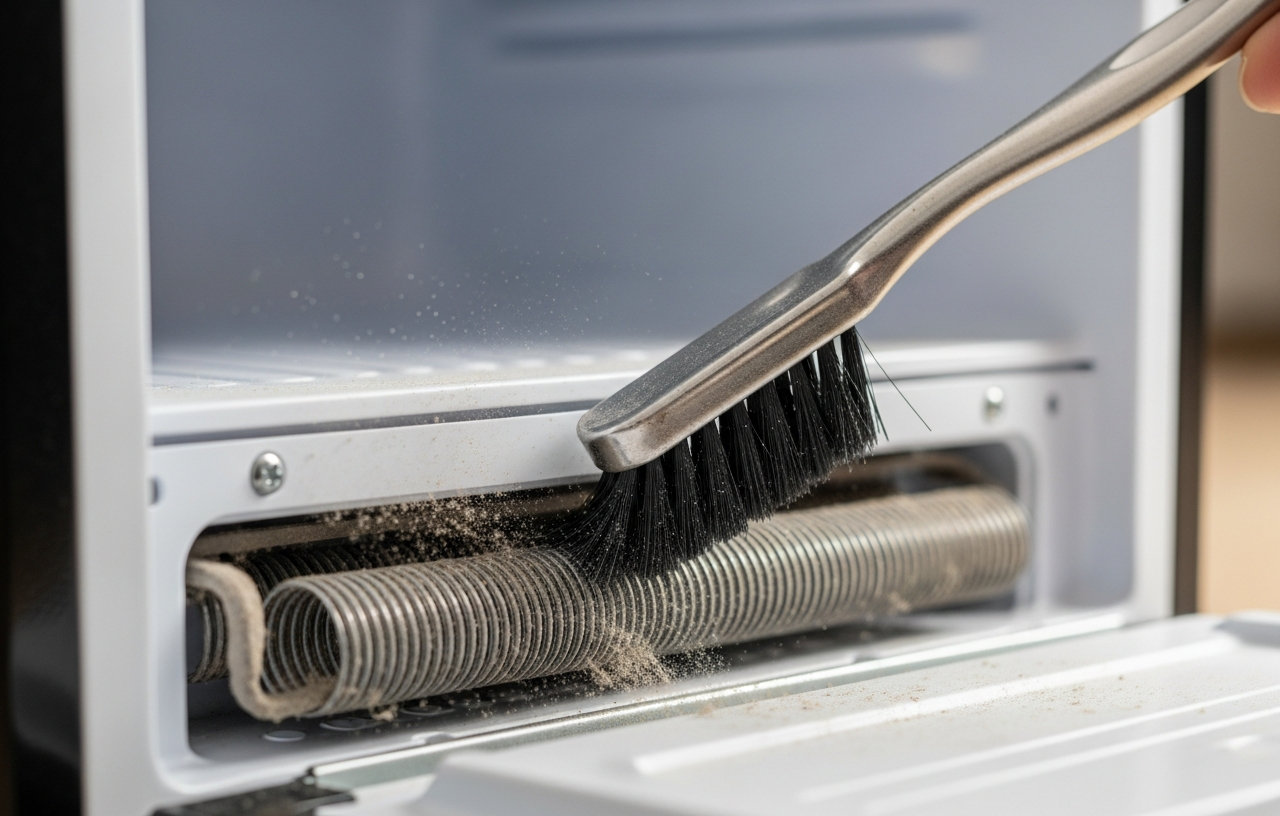
- Brush the Coils: Take your coil cleaning brush or stiff bristled brush. Insert it between the coil fins and gently sweep downwards or outwards to dislodge stubborn dust and grime. Work from top to bottom if the coils are vertical. For horizontal coils, sweep across.
- Work Systematically: Cover the entire surface of the coils. You may need to apply a little more pressure in areas with heavier buildup. The goal is to remove as much accumulated dirt as possible.
Step 5: Final Vacuuming and Wipe Down
- Re-Vacuum: After brushing, use the vacuum cleaner again to pick up any dust that has fallen onto the floor or other components.
- Wipe Surfaces: With a soft, damp cloth or paper towel, wipe down the exterior of the coils and any accessible surfaces inside the coil compartment. This removes any residual fine dust. Make sure the area is dry before proceeding.
Step 6: Reassemble and Restore Power
- Replace Panel: If you removed an access panel, carefully place it back and secure it with the screws you set aside. Make sure all screws are tightened snugly.
- Return Fridge: Push the mini fridge back into its original position, making sure there is still adequate airflow around the back and sides. Do not push it flush against the wall.
- Plug In: Reconnect the power cord to the electrical outlet.
Benefits of a Clean Mini Fridge
A clean set of condenser coils makes a real difference. Your mini fridge will cool more effectively, maintaining safer temperatures for food and beverages. It will also run more quietly, as the compressor does not have to strain as hard. Most importantly, clean coils reduce energy consumption, potentially saving you a few dollars each month on your utility bill, and extend the overall lifespan of your appliance.
A mini fridge like the 3.2 Cu Ft Mini Fridge with Freezer, designed with energy efficiency in mind, truly shines when its condenser coils are kept clean. This model offers a true double-door design with a separate 0.95 Cu Ft freezer, bright interior LED light, and adjustable tempered glass shelves. Its energy use averages just 0.6 kWh per day, making the estimated daily operating cost about $0.07. Keeping its coils free of dust helps maintain this low operating cost and consistent cooling performance.

- 【True Double Door Design with Separate Freezer 】Experience organized cooling with dedicated compartments. This 3.2 cubic feet mini fridge features a full-size freezer (0.95 Cu Ft) for frozen goods and ice, plus a spac...
- 【Bright Interior LED Light & Tempered Glass Shelves】 Never fumble in the dark. The built-in light automatically illuminates when the door opens. Durable tempered glass shelves are easy to clean and can be adjusted to ...
- 【Energy Saving & Precise Temperature Control】 Enjoy full-size cooling without the high cost. This efficient refrigerator uses an average of just 0.6 kWh per day, translating to an estimated daily operating cost of abo...
- 【Thoughtful Design for Easy Living】Features include a clear vegetable crisper with humidity-controlling lid, multiple door bins, and a can holder. Adjustable leveling feet ensure stability, reducing noise and vibration.
Preventative Measures for Cleaner Coils
You can take steps to minimize dust accumulation between cleanings:
- Maintain Clearance: Make sure the back and sides of your mini fridge have at least 2-3 inches of clearance from walls or cabinets. This allows for better airflow and heat dissipation.
- Regular Dusting: Periodically wipe down the floor and walls around the mini fridge. This reduces the amount of dust that can be drawn into the coil area.
- Pet Hair Management: If you have pets, vacuum regularly to control pet hair, which is a major contributor to coil blockage.
- Consider Location: Place your mini fridge in an area that is not excessively dusty or prone to collecting lint.
For other essential mini fridge care, learn How to Defrost Mini Fridge: Simple step by step.
Final Thoughts on Mini Fridge Maintenance
It directly impacts your appliance's energy efficiency, cooling capability, and longevity. By committing to this simple routine every 6-12 months, you ensure your mini fridge continues to operate at its best, providing reliable cooling for years to come. Your small appliance will thank you with consistent performance and lower operating costs.